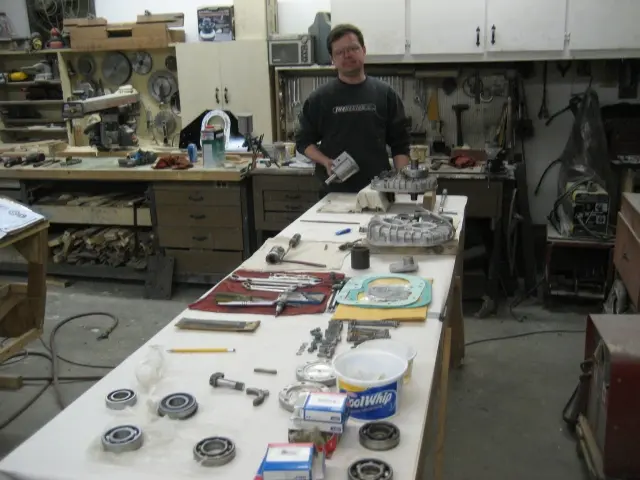
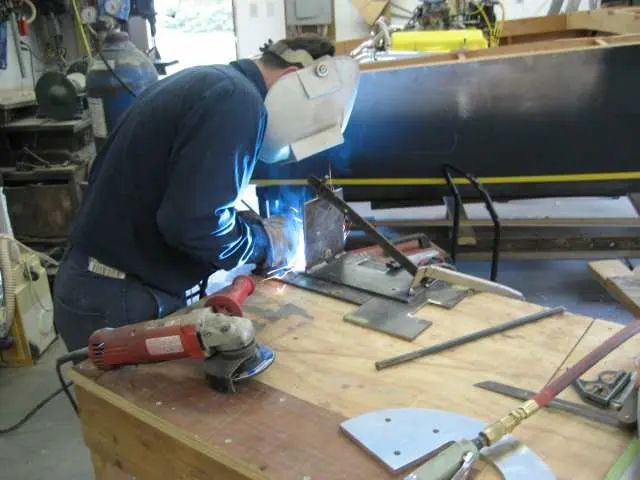
Here's a good friend of mine, Colin, rebuilding the v-drive
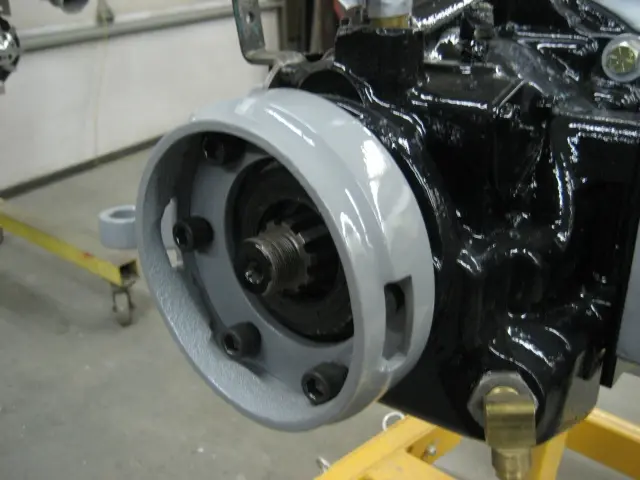
1. Here's a good friend of mine, Colin, rebuilding the v-drive. It's nice to have a Class A mechanic in the shop ! He's rebuilt the engine and is our ace fabricator / welder. He enjoys working on the mechanical components of the boat but is quite emphatic about staying on firm ground on launch day...
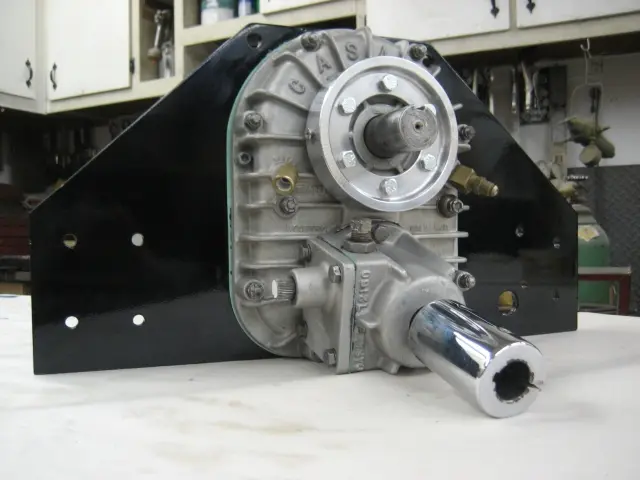
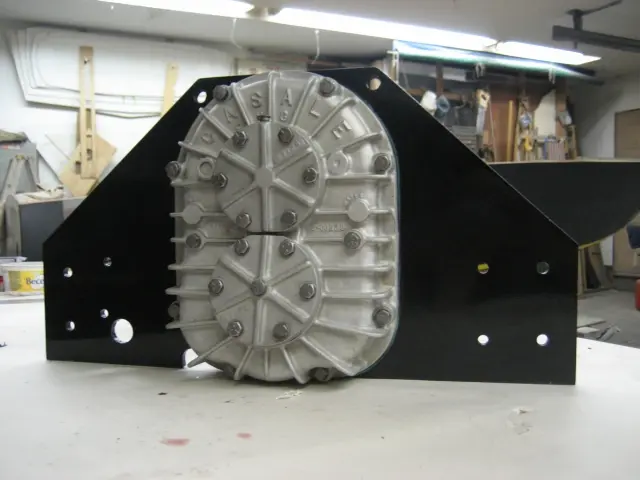
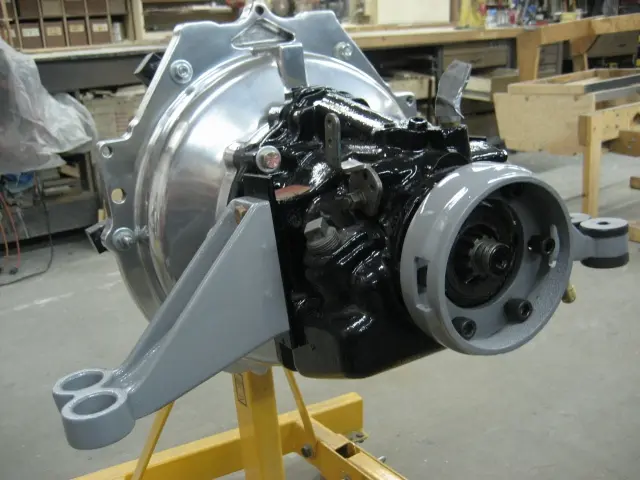
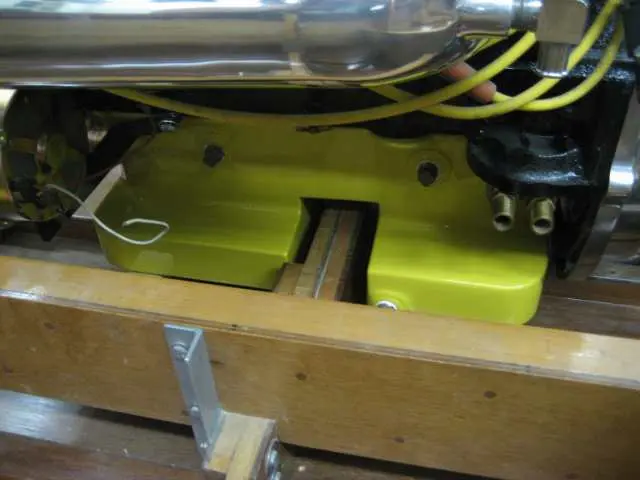
2. Before you know it, the v-drive is fully assembled. The v-drive plate was painted before final assembly. The plate was pretty rough, so we blocked it out with several coats of epoxy primer. This was followed up with Dupont 280CR DTM primer, Dupont Uro-Prime urethane primer-surfacer and topcoated with Dupont Imron urethane enamel.
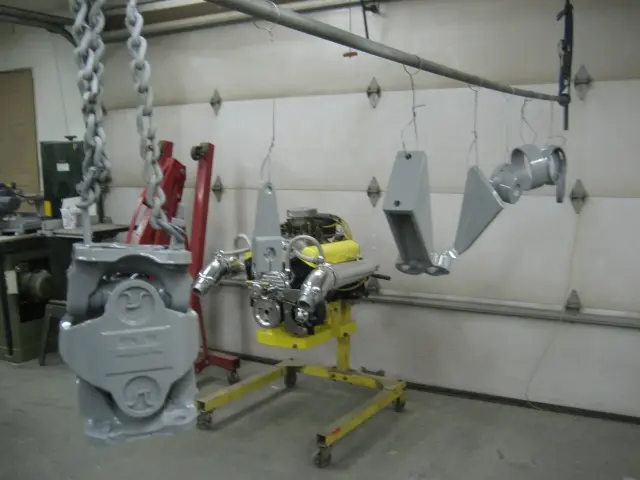
Here's the last of the mechanical components being painted
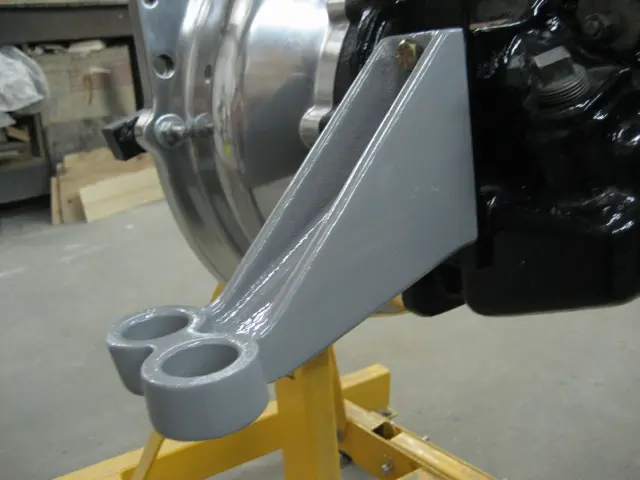
1. Here's the last of the mechanical components being painted. H-joint assembly, v-drive shifter, transmission mounts, v-drive flange takeoff, torque tube guards and transmission takeoff adapter.
2. The transmission mounts were installed with grade 8 bolts.
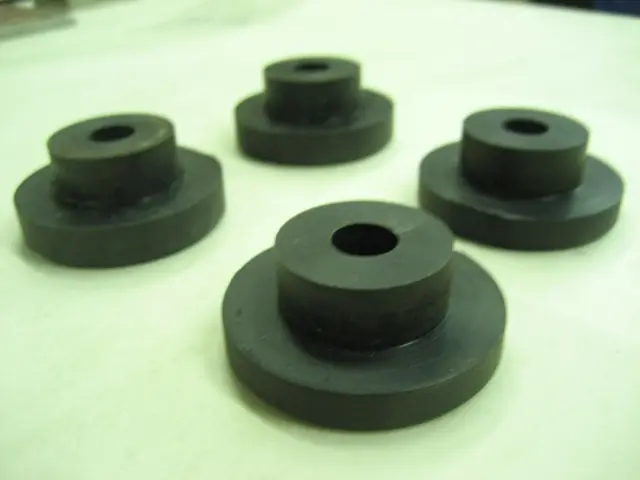
3. The old soft rubber bushings were removed...
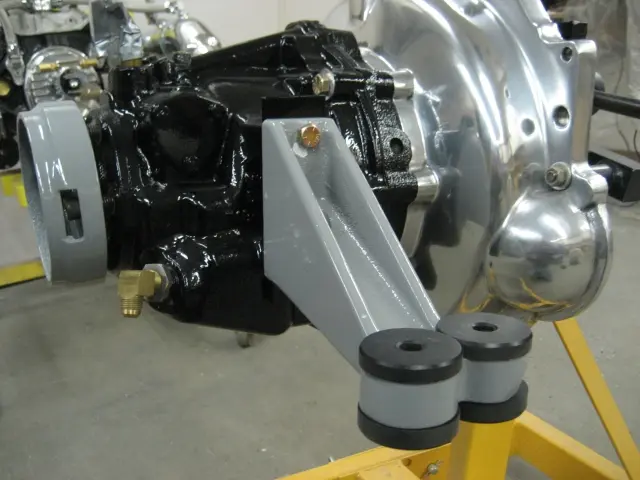
4. ... and replaced with custom Delrin bushings. These are more of Steve Flewitt's handiwork !
5. The solid mounts will prevent the engine and transmission from flexing under heavy torque loads.
6. The custom torque tube guard adapter is being installed.
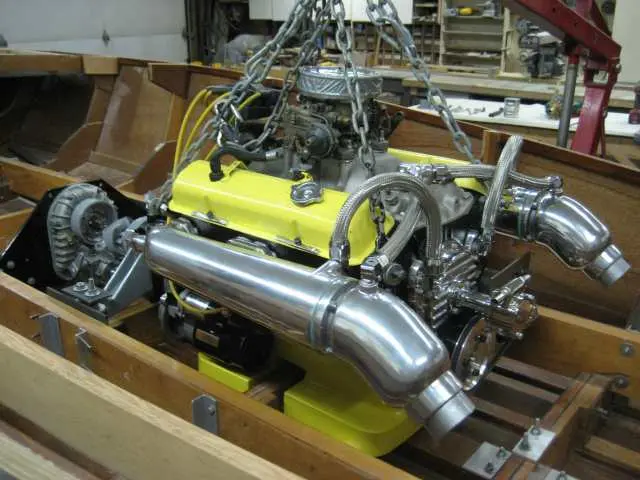
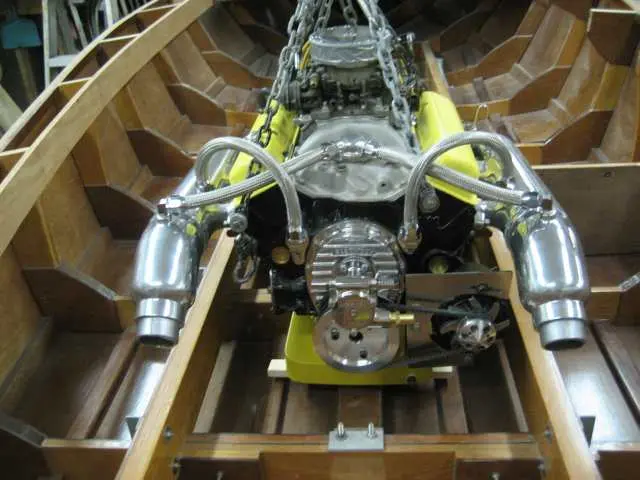
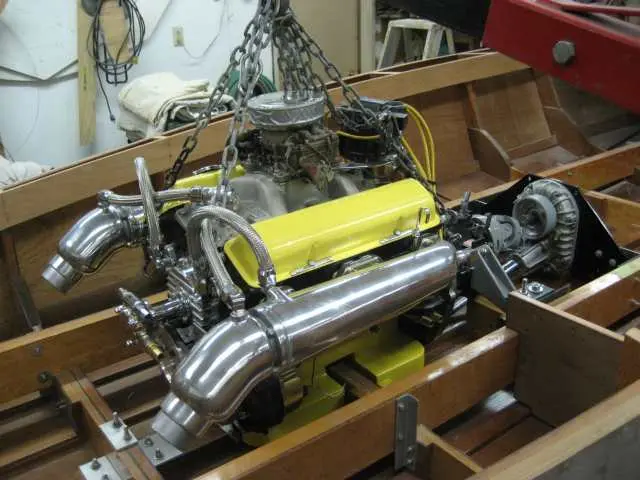
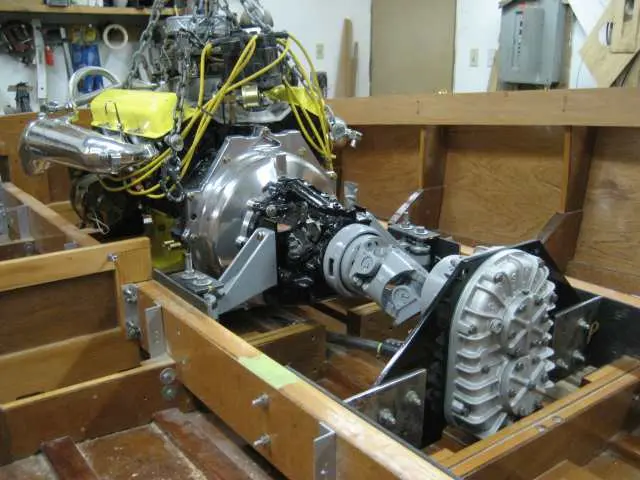
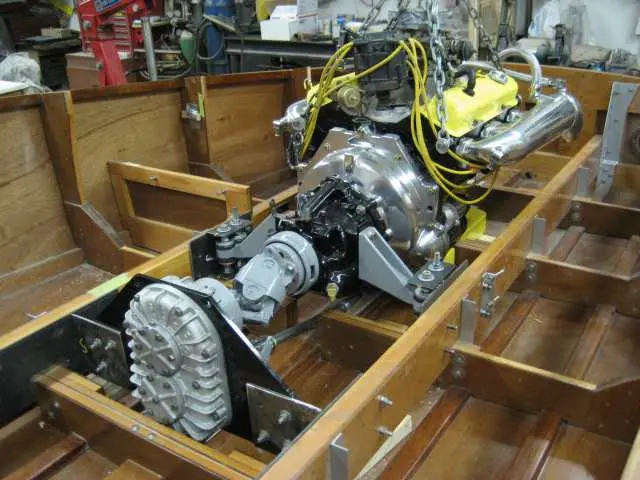
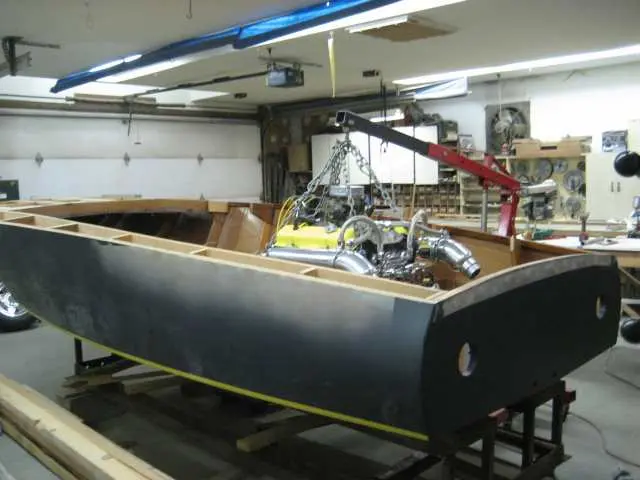
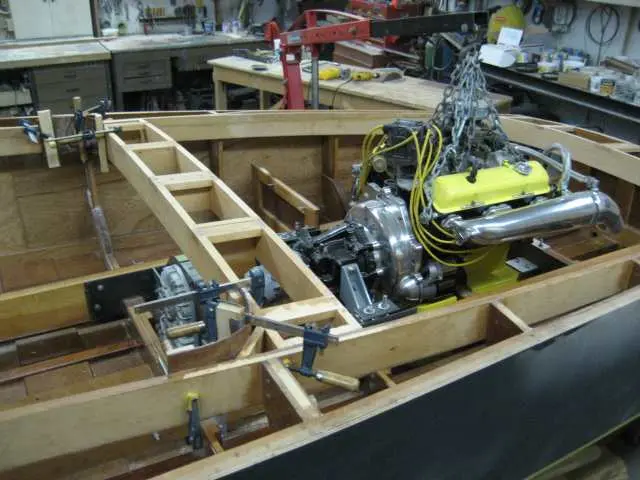
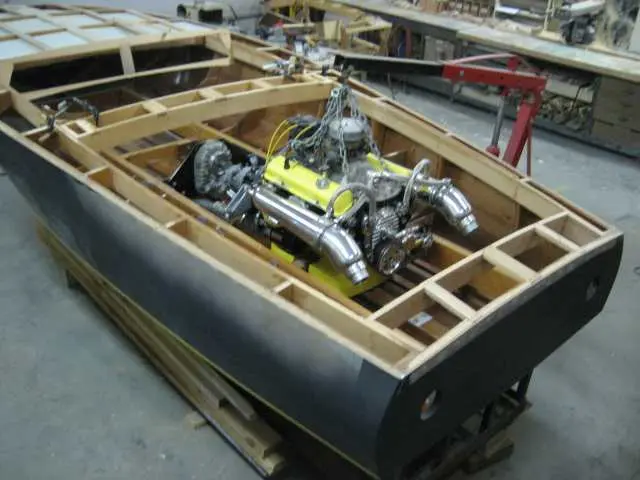
1. Here's the day I've been waiting for ! Engine, transmission and v-drive installed with very few issues.
2–3. We don't have enough clearance between the torque tube guard adapter and the v-drive take-off hub. The hex-head bolts used to retain the guard will have to be swapped out for flat head machine bolts.
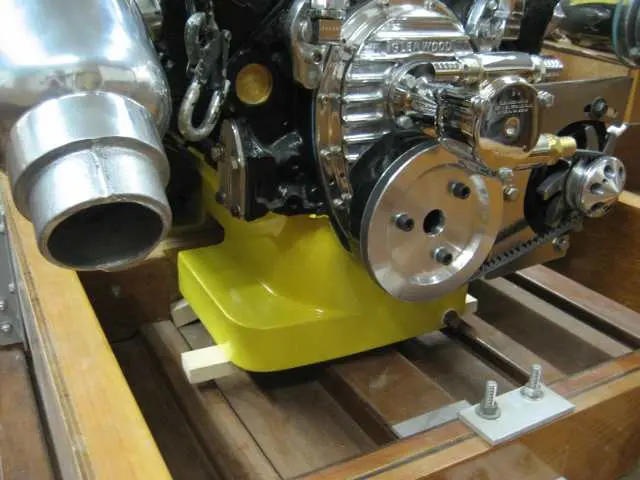
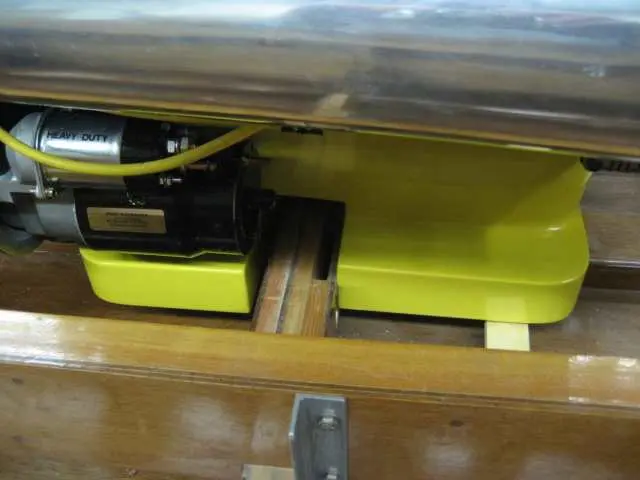
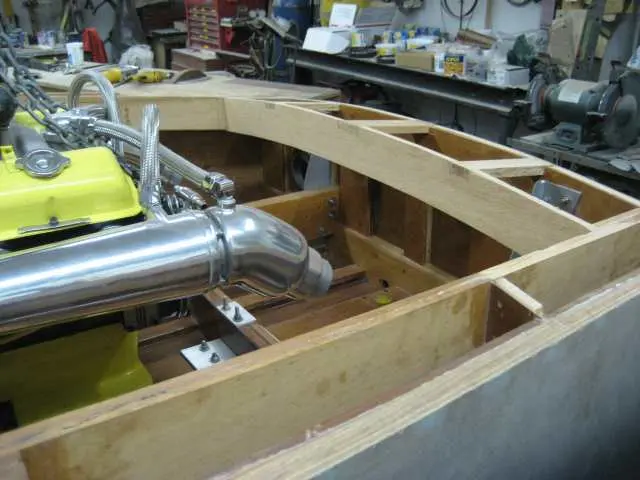
6–7. Here's a close-up of the oilpan straddling frame # 2.
8. Oil capacity has been expanded from 4 quarts to 12 quarts.
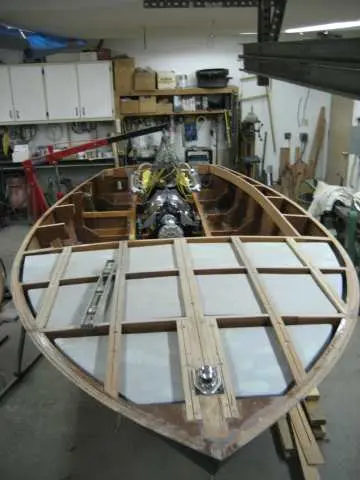
9. The custom oil pan lowered the engine by 3-1/2". A lot of work, but the engine is horizontal and nicely nestled into the boat.
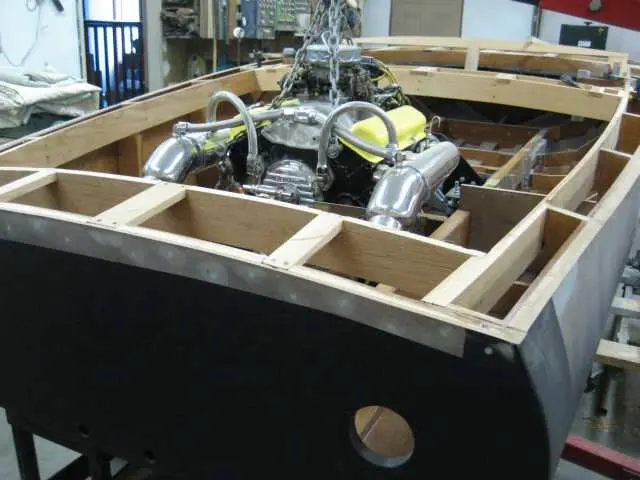
10. The intermediate deck beam straddles the carlings at frame # 4.
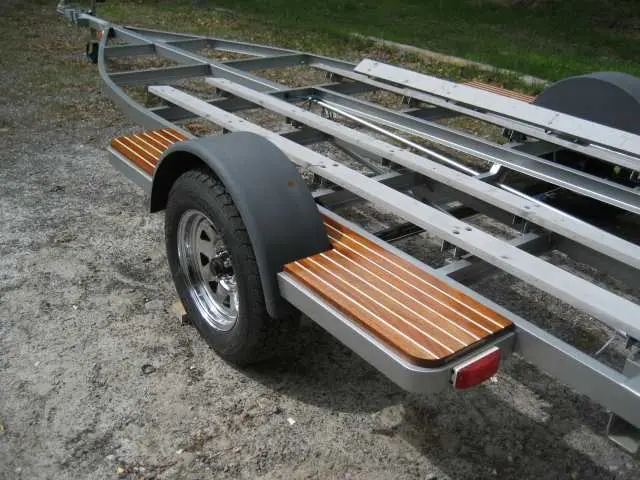
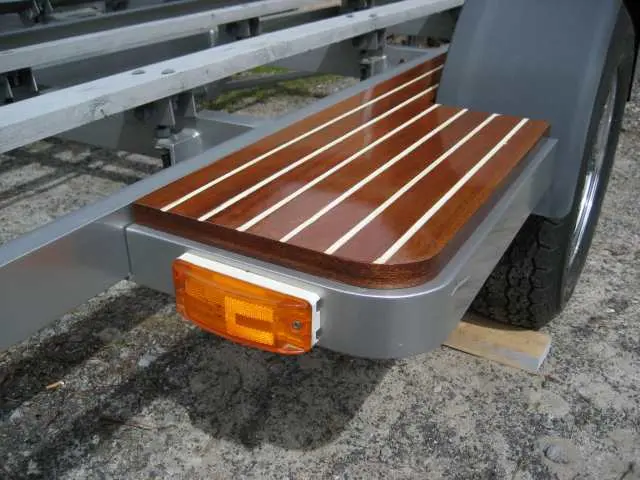
Trailer: It's been a while, but we've finally finished up the fender steps
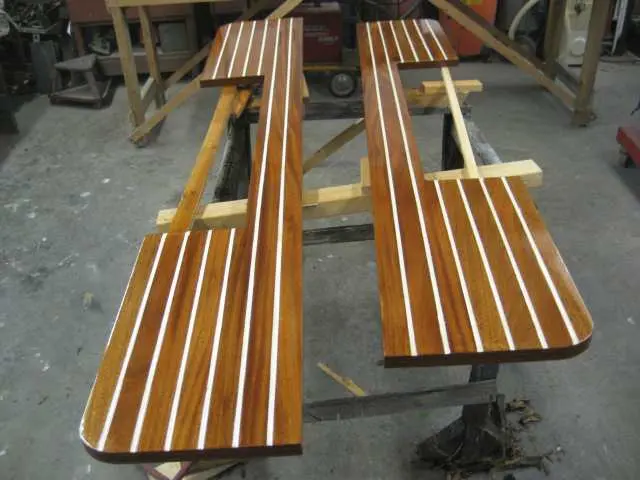
1. It's been a while, but we've finally finished up the fender steps.
2. Edges were capped with mahogany veneer. Several coats of West System Epoxy catalysed with 207 hardener were applied and block-sanded.
3. Final topcoat consisted of three rounds of two-part Nason Urethane Clear applied with HVLP spray equipment. It feels good to chuck up a spray gun after using bristle and foam brushes for so long !
The intermediate deck beam straddles the carlings at frame # 4
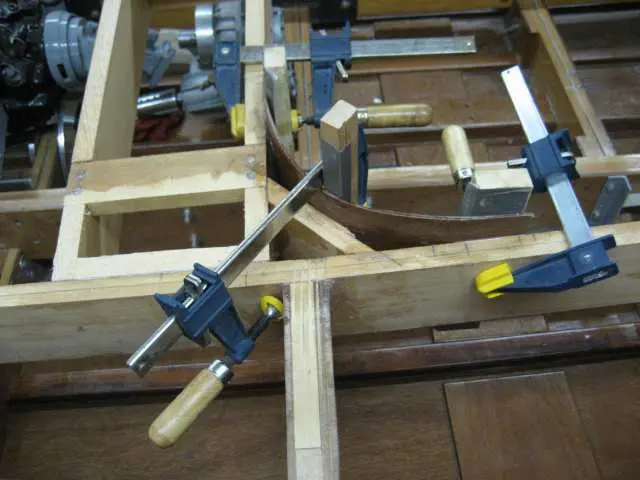
1. The intermediate deck beam straddles the carlings at frame # 4.
2. Coaming corners were radiused with plywood veneer. We ran some 1/8" marine- grade mahogany plywood through the planer to remove one face. This makes it much easier to bend !
3. Transom deck beam is 9" wide.
4. The bottom edge of the beam was molded to a width of 3-1/2".
5. View from the transom.
6. Here's my friend Colin finish-welding up the v-drive mounting plate. We spent the day finalizing the transmission mounts. With all components bolted in, we measured for the propeller shaft.
123456
Nobody else here is logging a Hot Rod yet.
See the boat.