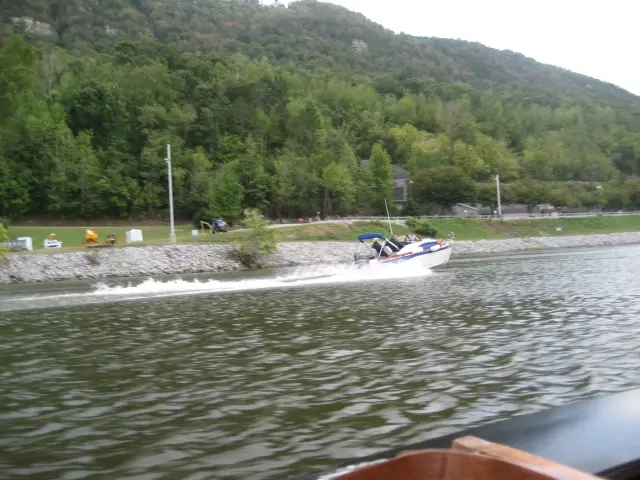
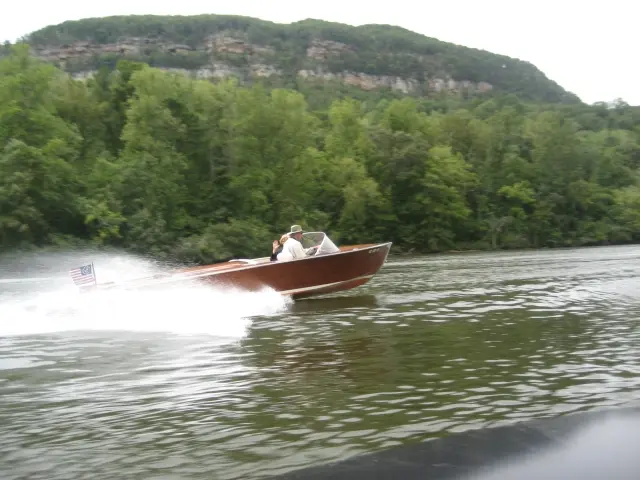
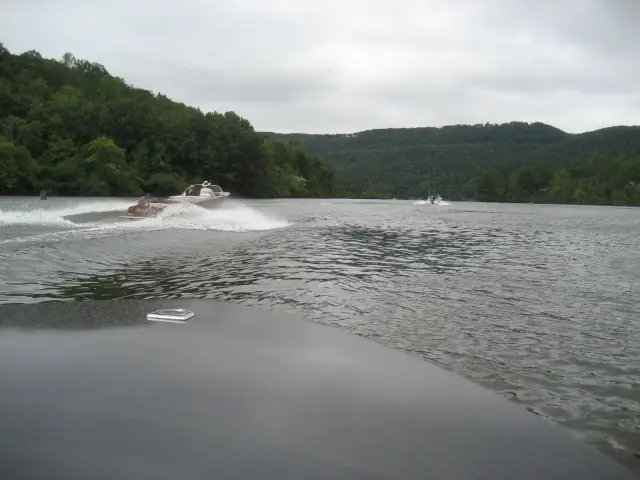
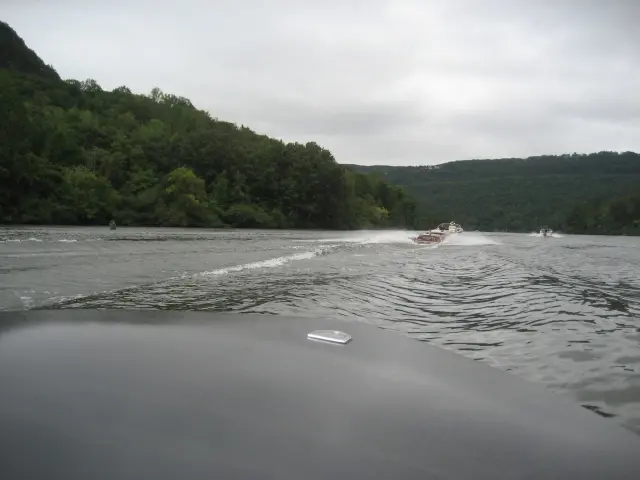
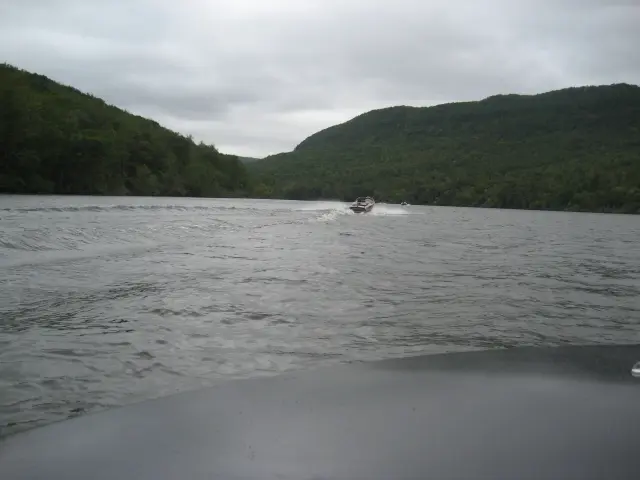
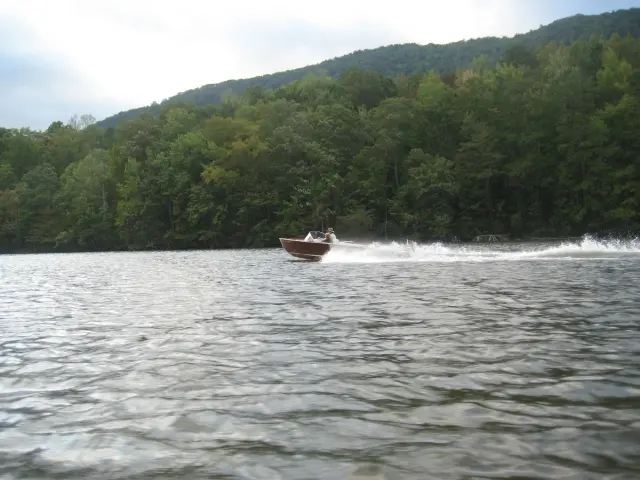
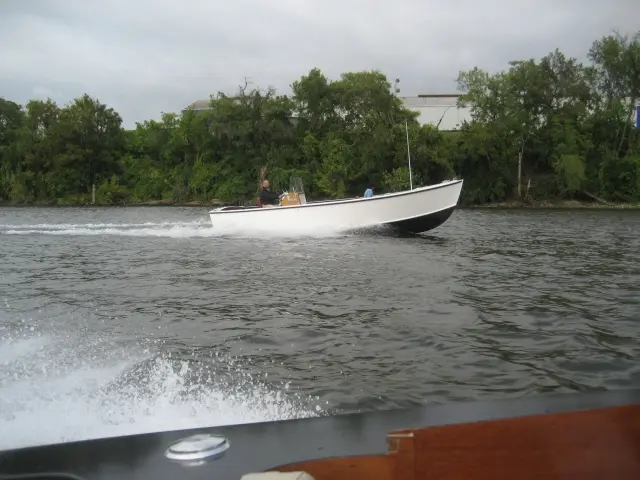
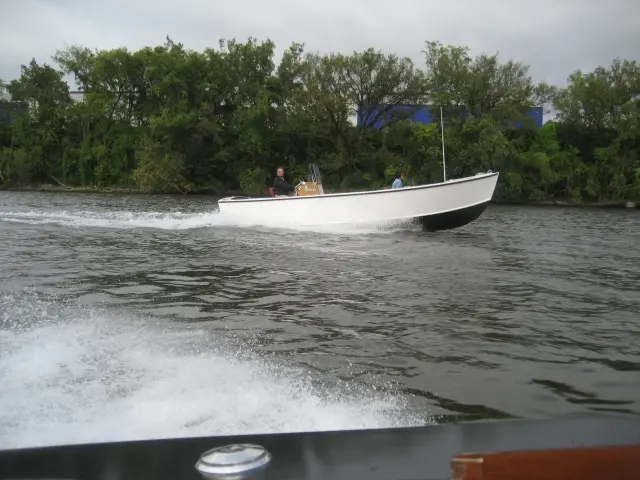
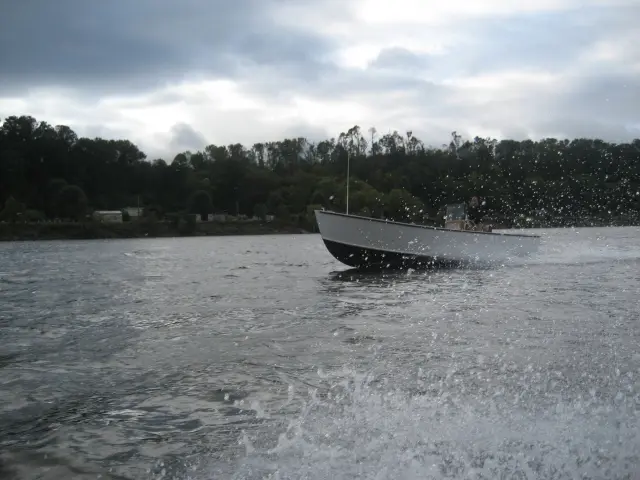
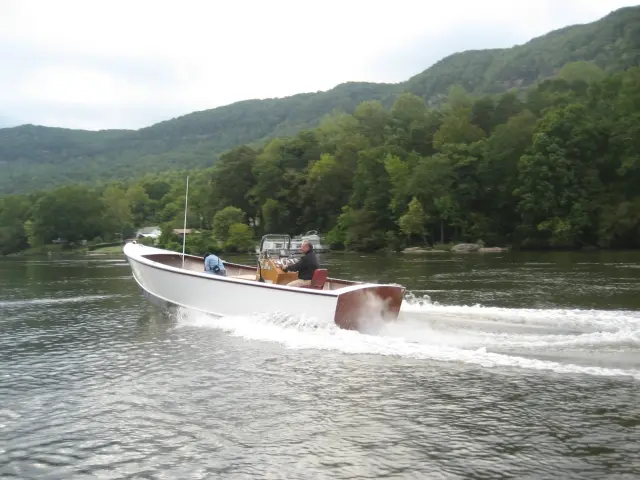
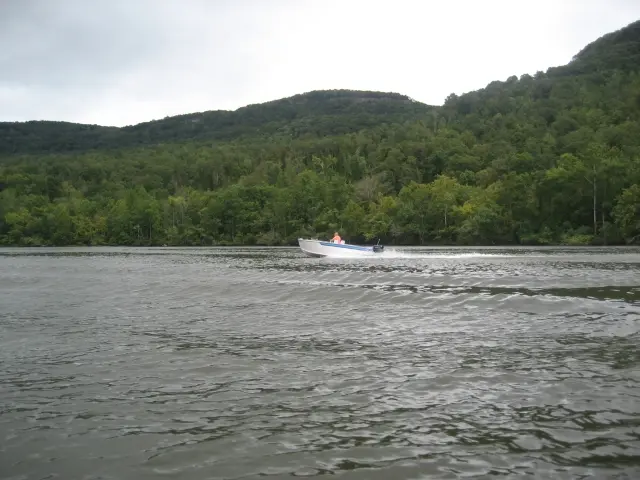
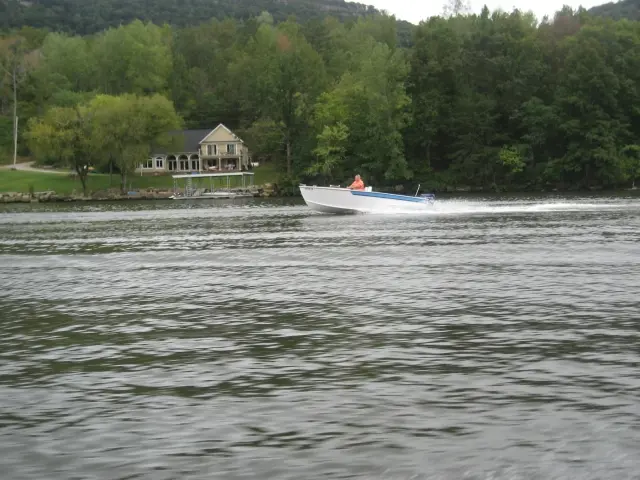
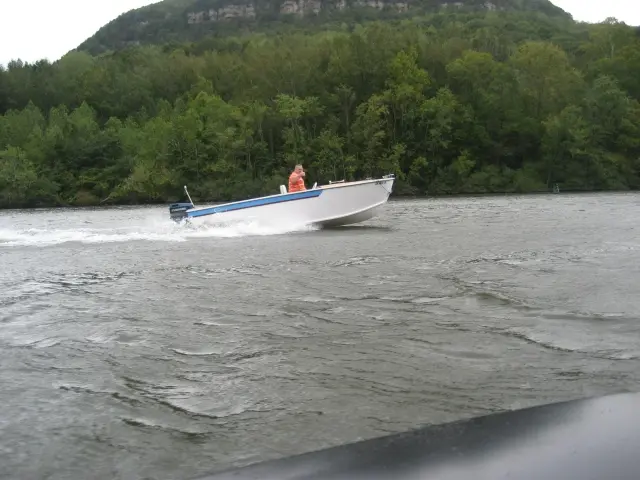
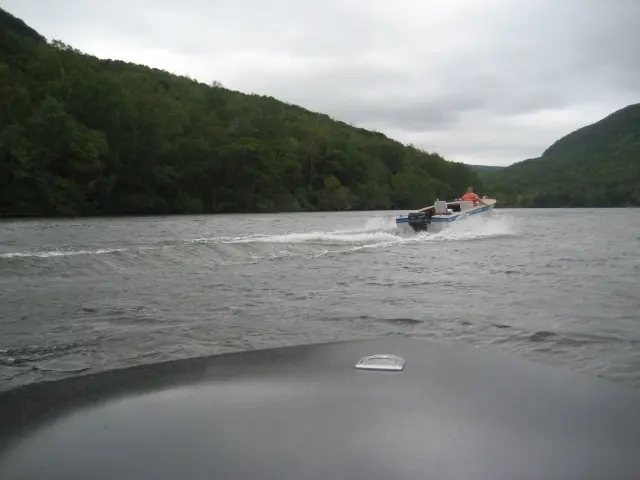
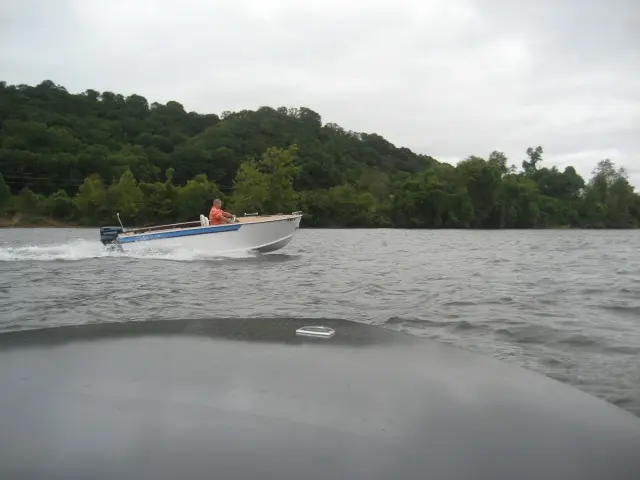
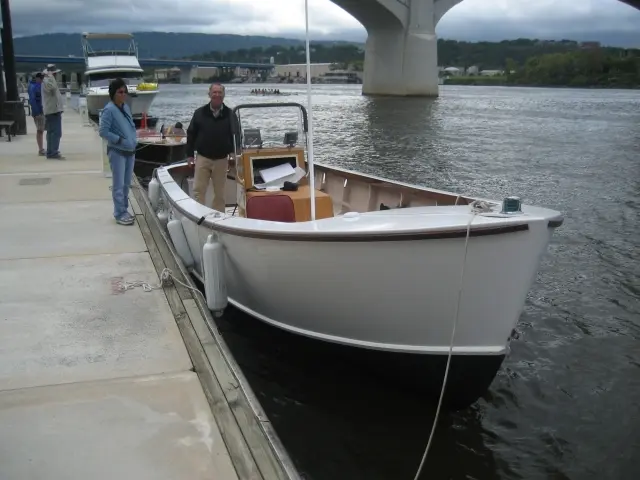
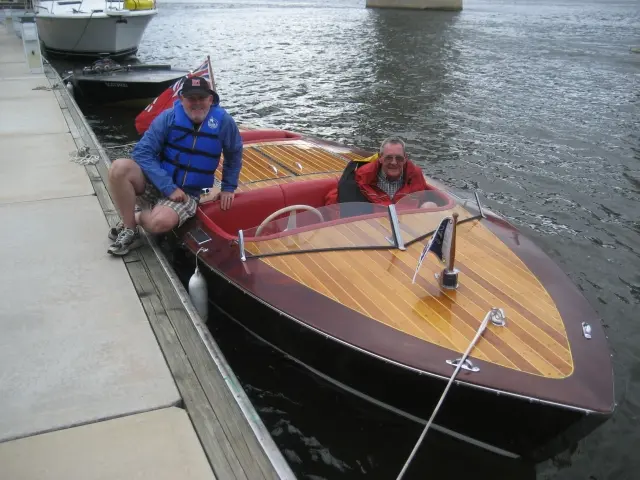
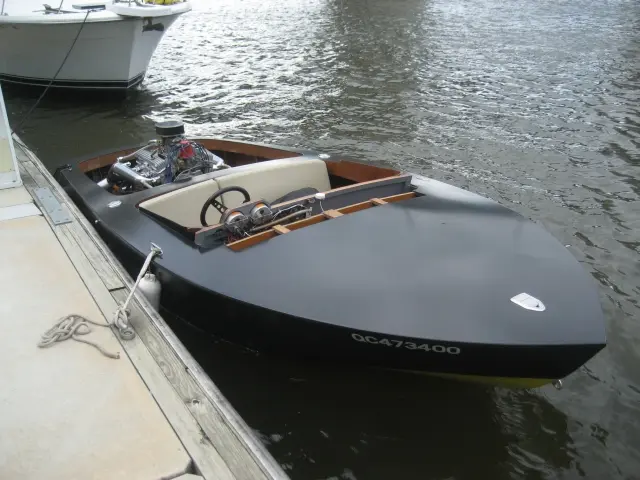
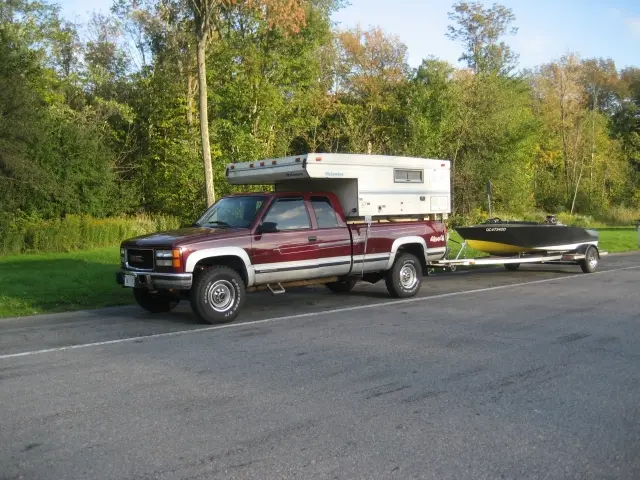
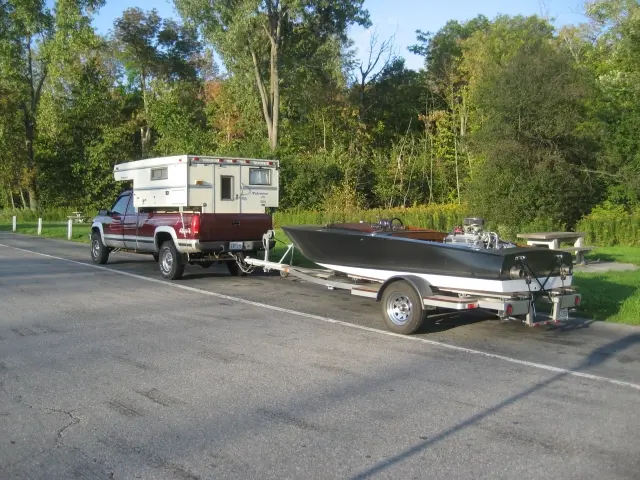
Glen-L Gathering 2011: The boat needs a major cleanup when we get home !!
The boat needs a major cleanup when we get home !!.
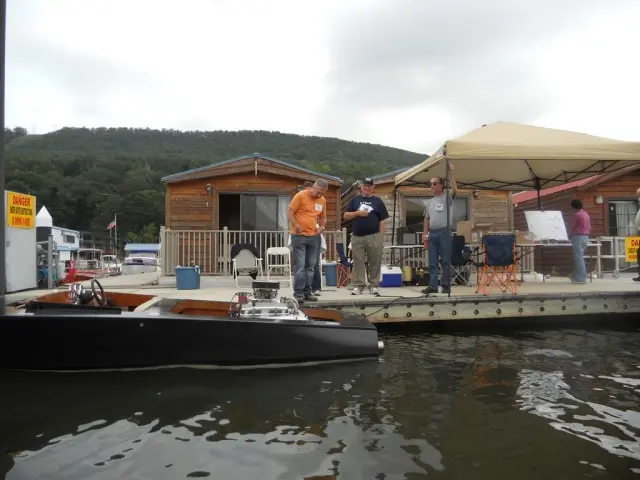
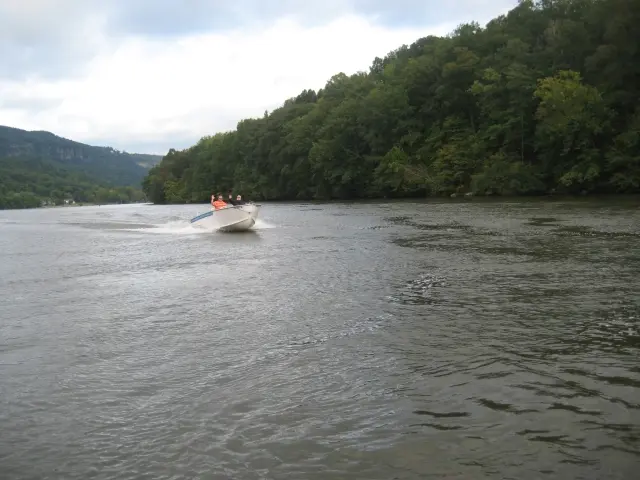
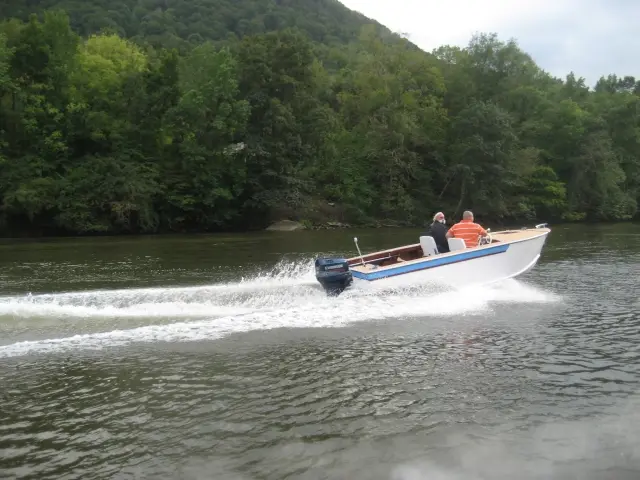
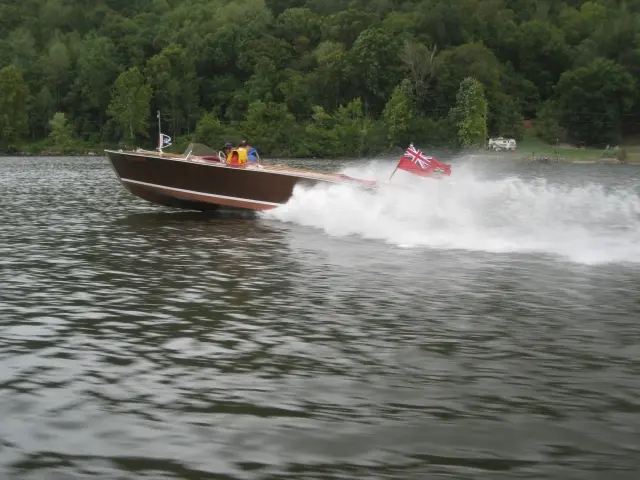
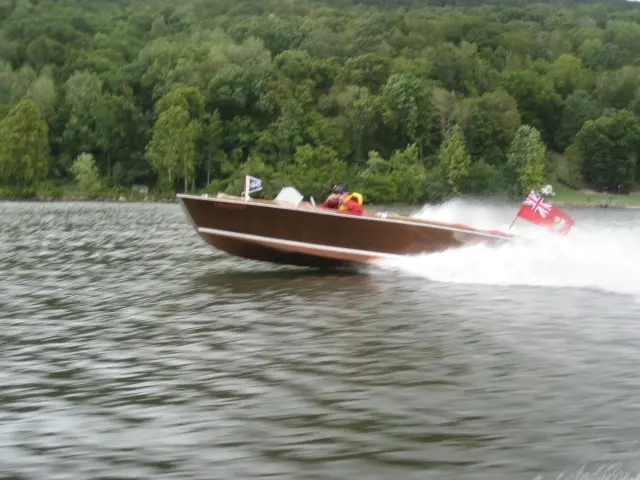
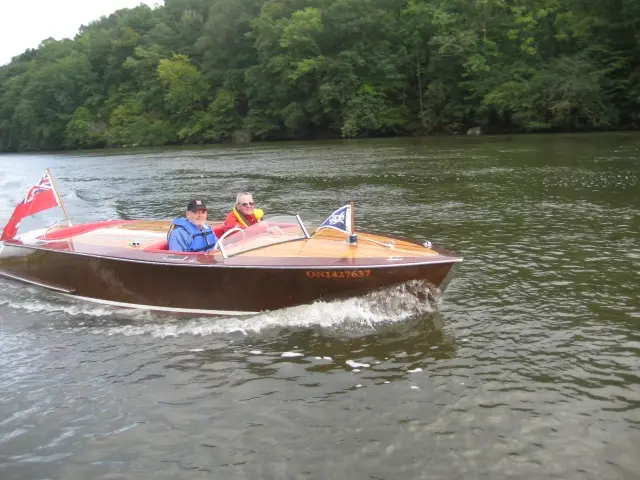
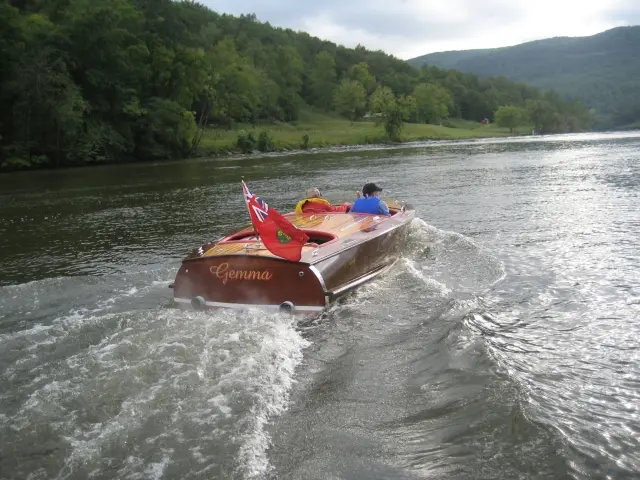
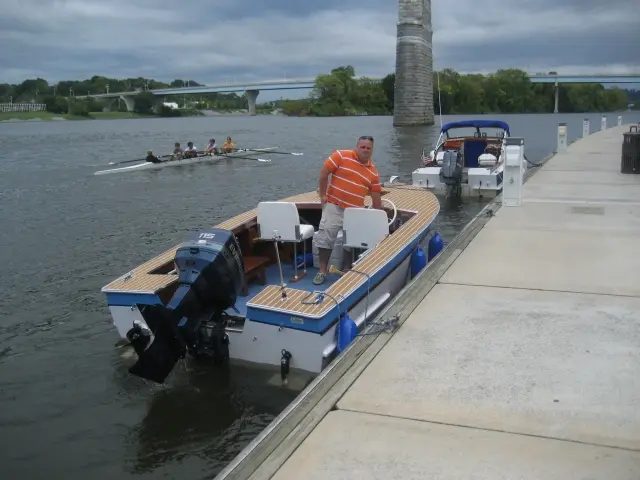
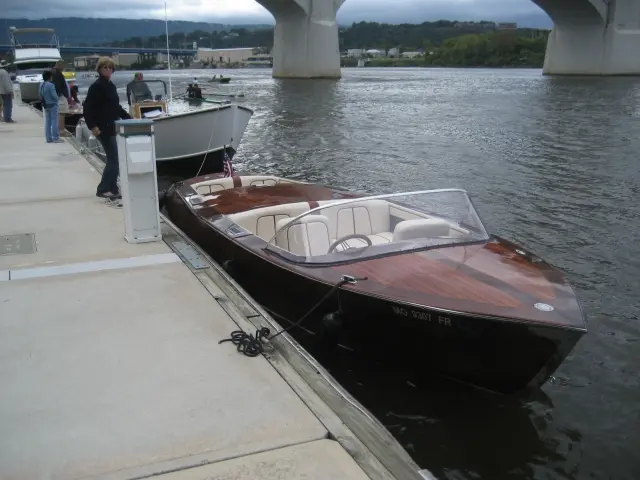
The Gathering was a blast. I'd like to thank everyone who organised the event and all who attended. Special thanks to Gayle and Glen-L Marine Designs for providing Saturday lunch, the Sunday Breakfast crew (Bruce Dow, his Dad Brian) and everybody who pitched in to make this the best Gathering to date. Your hospitality and fellowship keeps us coming back year after year !
Click on the links below to see more photos of the event : Gayle's Blog and Photos Glen-L Gathering 2011 Photo Album ttomshaw's Photo Album vupilot's Photo Album Glen-L Boat Video Directory (Past Gatherings)
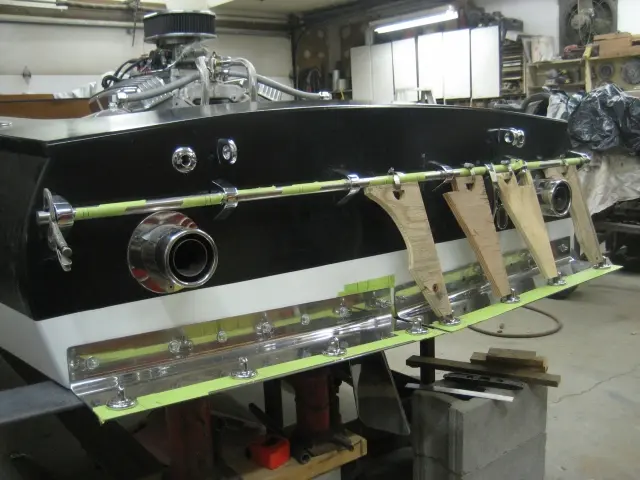
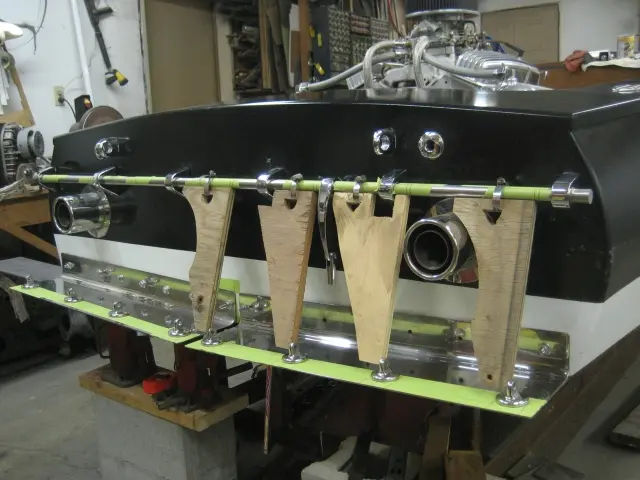
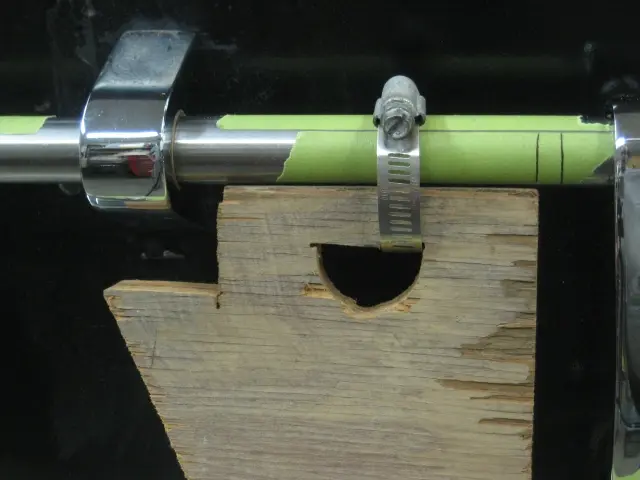
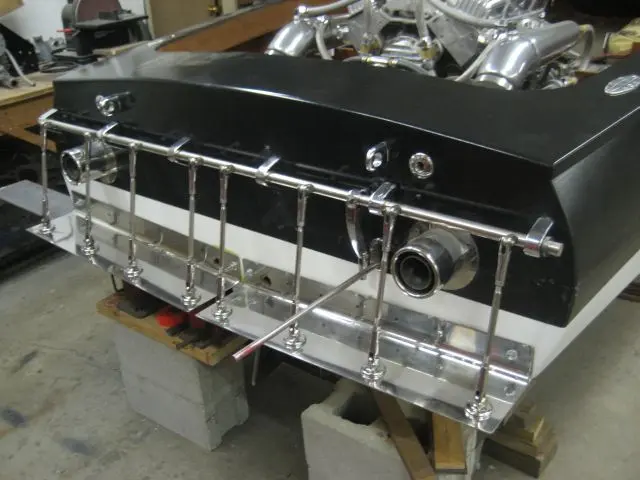
Cavitation plates: We fabricated an alignment jig made from 3/4" plywood scraps and hose clamps to mark locat
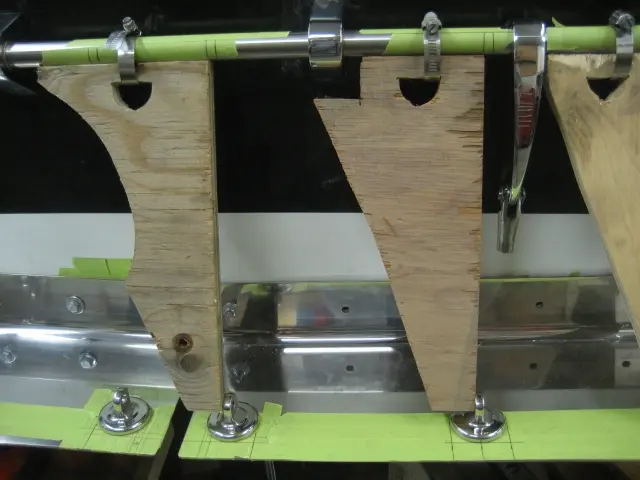
1. We fabricated an alignment jig made from 3/4" plywood scraps and hose clamps to mark location of turnbuckle mounting holes on the 7/8" OD control shaft.
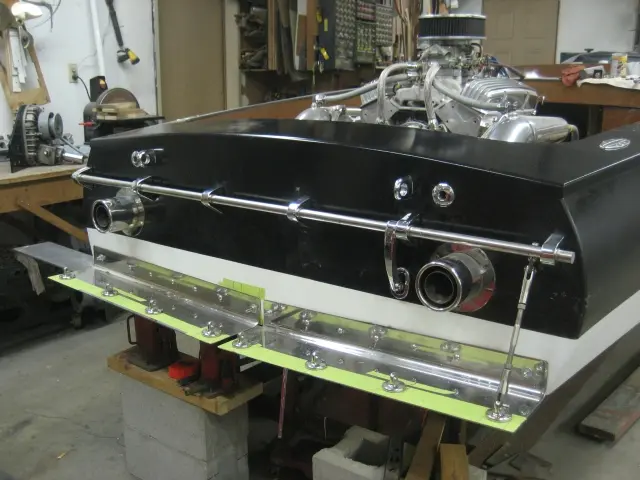
2–3, 5. Here's an excerpt from the Glenwood Marine Catalog explaining how the cavitation plate override system works: "On high speed boats, quick accurate setting of the cavitation plate is desirable for safety and best performance. Using a combination Foot Control and Control Handle with an Override Assembly makes such adjustment quick and positive. Usually the cavitation plates are set by the hand control to the desired pitch. However, when quick acceleration is desired, or when the bow of the boat needs to be brought down instantly, the foot control can be depressed to override the hand control. When the foot control is released, the cavitation plate will will return to its initial pre-set pitch."
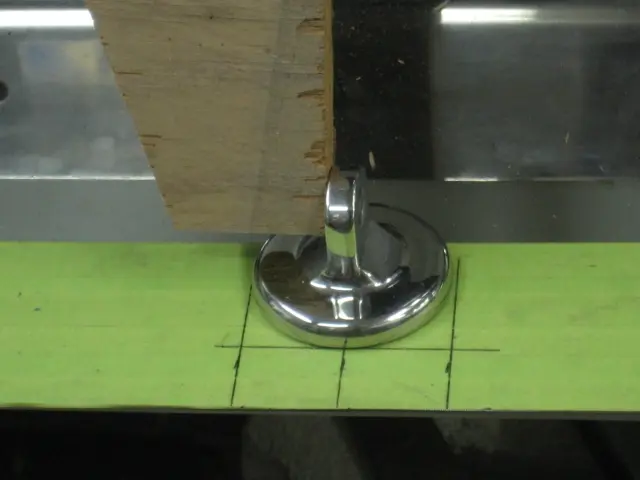
4. Double faced carpet tape was used to temporarily hold the cavitation plate male bosses while fitting. Mounting holes will be drilled after the control shaft has been machined.
Cavitation plates: Hole centerlines were marked with a die grinder cutoff wheel
Hole centerlines were marked with a die grinder cutoff wheel. Parts were reassembled and measurements were double checked before sending the control shaft out for spot facing and drilling.
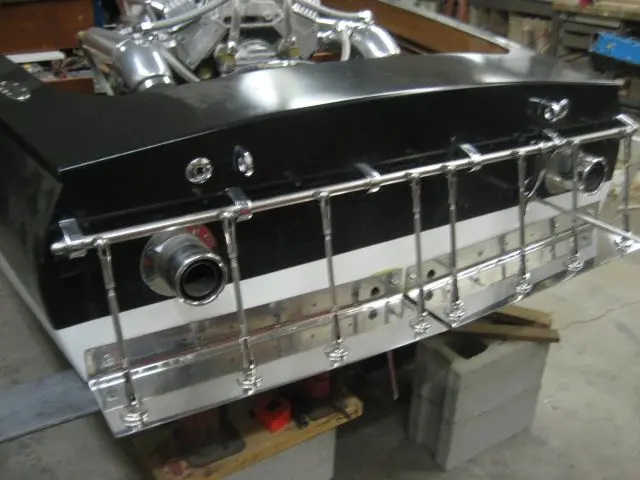
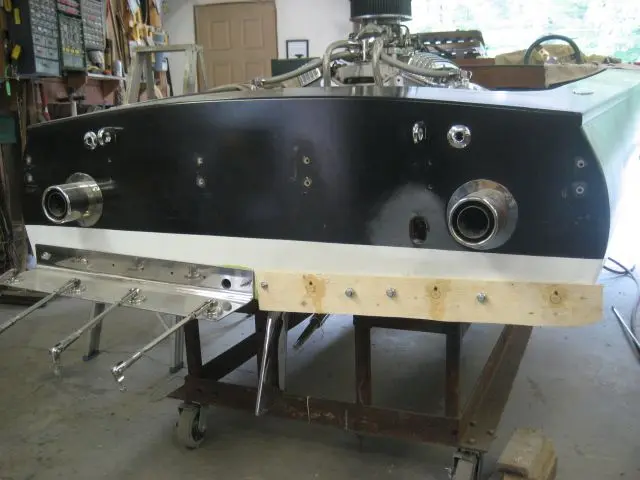
Cavitation plates: The cavitation plate is fastened to the transom with 5/16" x 3-1/2" stainless steel button
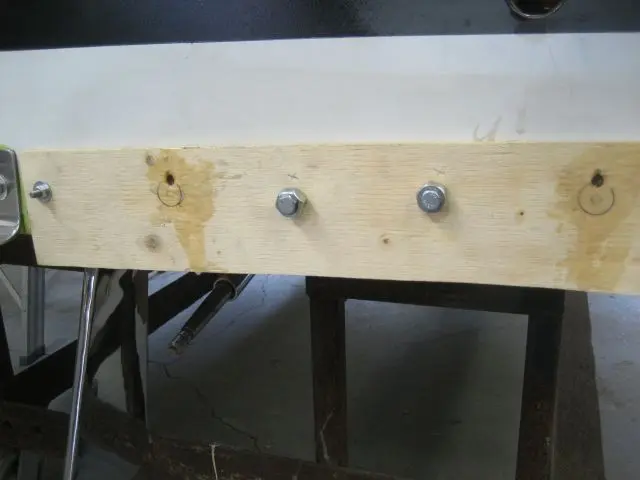
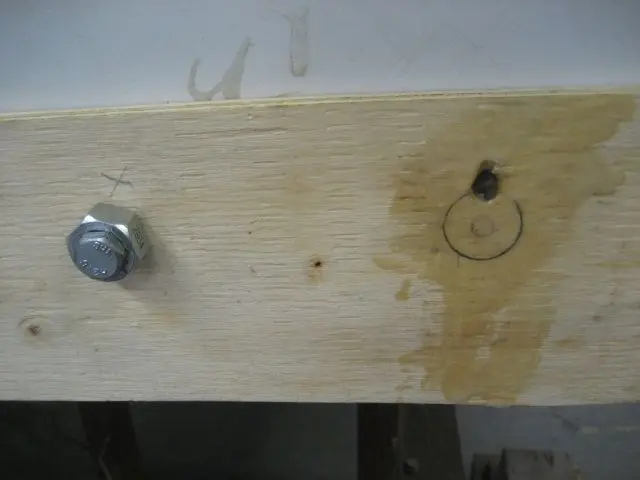
1. The cavitation plate is fastened to the transom with 5/16" x 3-1/2" stainless steel button head machine bolts. Every second bolt hole was overbored to 1/2" and filled with an epoxy and West System 403 filler.
2. A 1/4" hole was bored slightly above the bolt hole. The thickened epoxy slurry was loaded into a syringe and pumped into the bolt hole. Once cured, the cavitation plate was reinstalled, a 5/16" drill bit was used to locate the mounting holes.
3. Here's an excerpt from the Glenwood Marine Catalog explaining how the cavitation plate override system works: "On high speed boats, quick accurate setting of the cavitation plate is desirable for safety and best performance. Using a combination Foot Control and Control Handle with an Override Assembly makes such adjustment quick and positive. Usually the cavitation plates are set by the hand control to the desired pitch. However, when quick acceleration is desired, or when the bow of the boat needs to be brought down instantly, the foot control can be depressed to override the hand control. When the foot control is released, the cavitation plate will will return to its initial pre-set pitch."
123
Nobody else here is logging a Hot Rod yet.
See the boat.