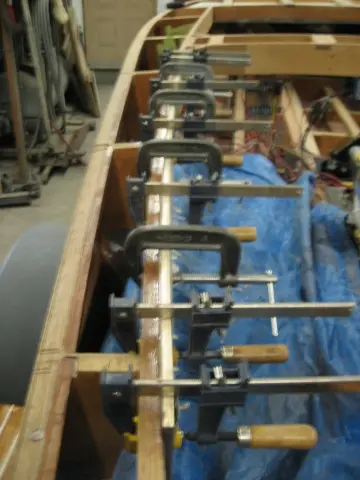
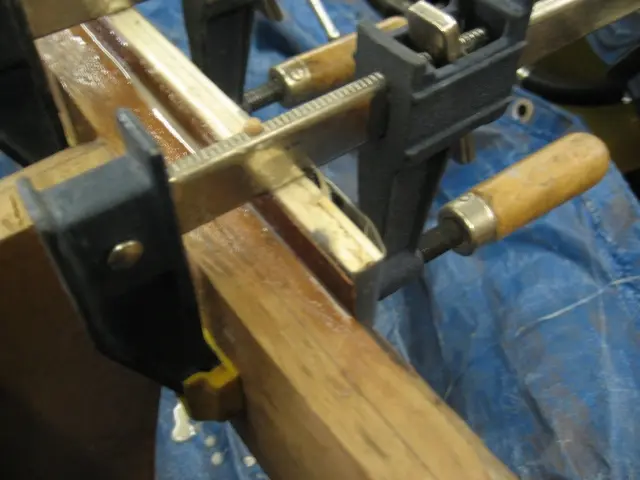
Carlings and trim: First lamination at Port gunwale clamped
1. First lamination at Port gunwale clamped.
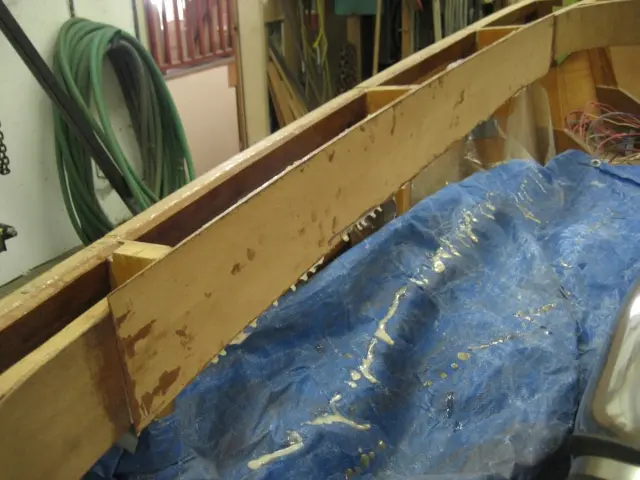
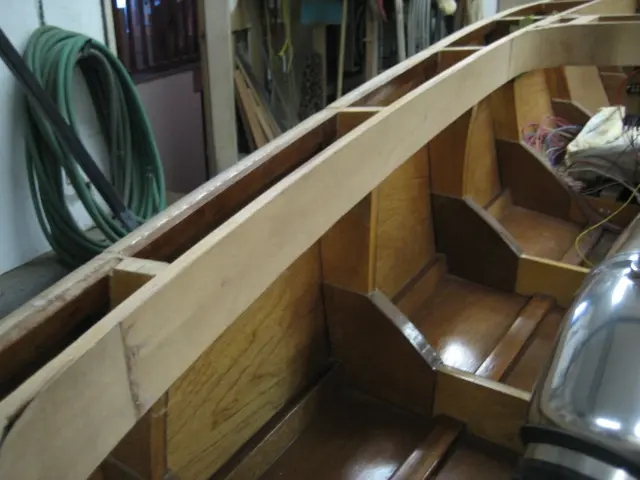
4. Completed.
Hot Rod · new build
Launched1. First lamination at Port gunwale clamped.
4. Completed.
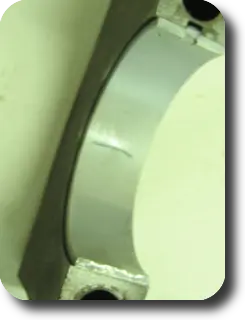
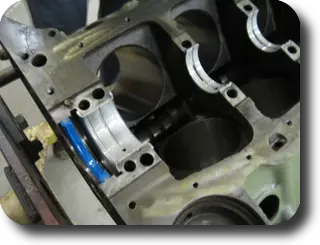
2. Cut and place a strip of plastigauge on a main bearing cap.
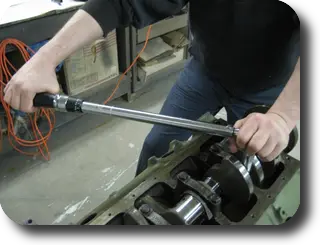
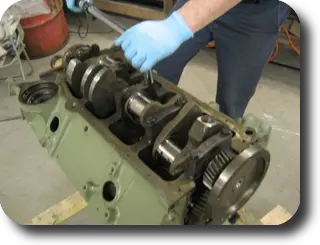
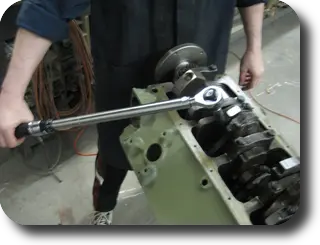
3. Torque the main bearing cap bolts to 65 ft/lbs.
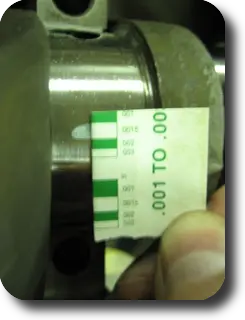
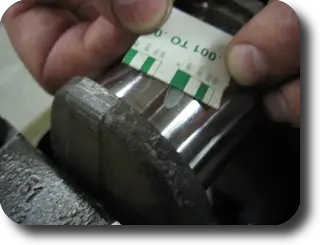
4. Determinine the clearance by matching up the compressed plastigauge strip with the plastigauge kit's ruler. Crankshaft main bearing clearance: 001" -.004"
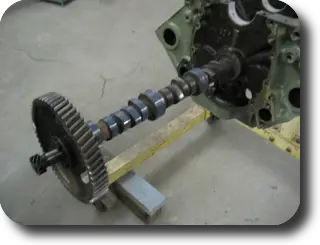
5. Coat the camshaft running surfaces with assembly lube and install it in the engine.
6. Install rear oil seal.
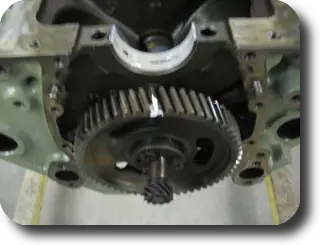
7. Locate the camshaft gear's timing mark and mark it with some Liquid Paper.
8. Install the crankshaft and main bearing caps. Ensure that the crankshaft and camshaft timing marks are aligned properly.
9. Measure piston ring gap. Reccommended clearances are usually included with the piston ring set.
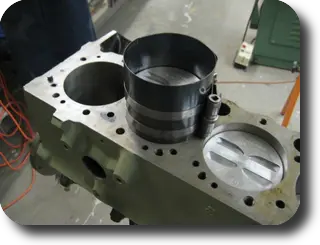
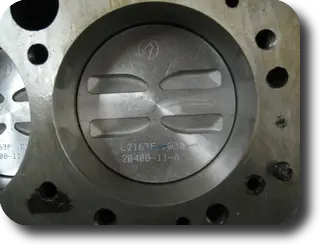
10. Install piston without rings to check bearing clearances. Stock cast pistons were upgraded to forged units (.030" oversize).
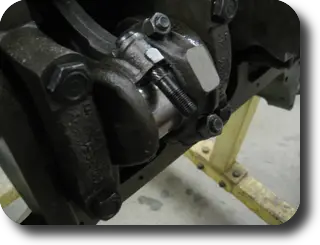
11. Cut and place a strip of plastigauge on the connecting rod cap bearing.
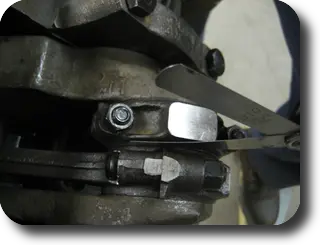
12. Torque the cap bolts and measure the connecting rod side clearance (two rods):.008" -.014"
13. Connecting rod bearing clearance:.001"-.004"
1. First lamination at center Frame # 4 clamped.
2–3. Completed.
4. Custom clamp for rear corner.
5–6. Completed.
7–8. Second lamination at transom clamped.
9. Second lamination at starboard gunwale clamped.
10. Completed.
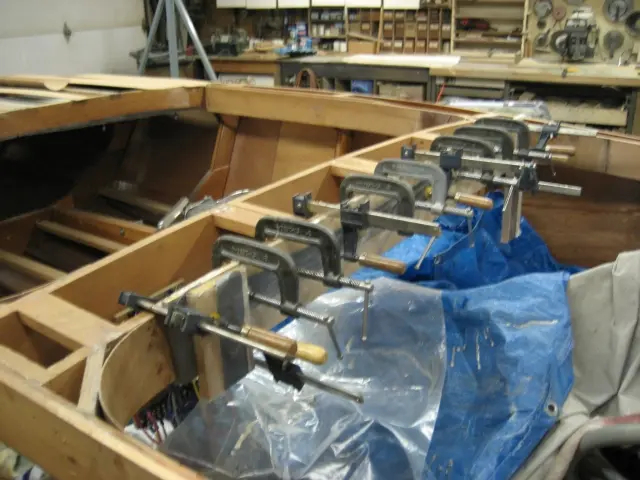
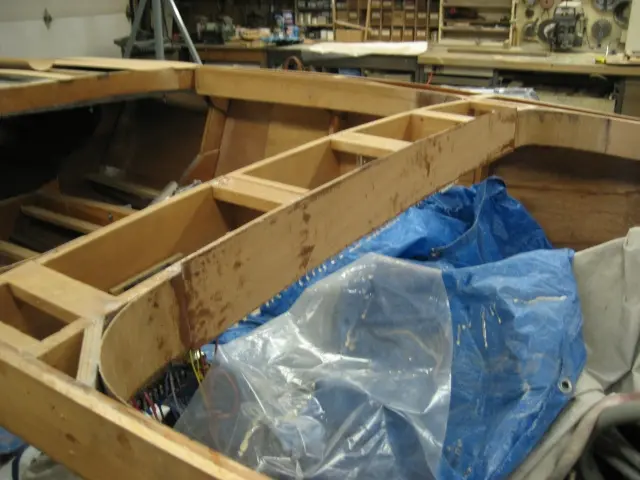
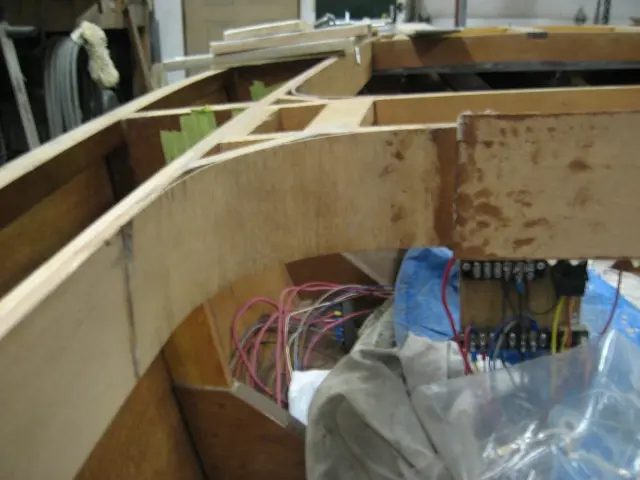
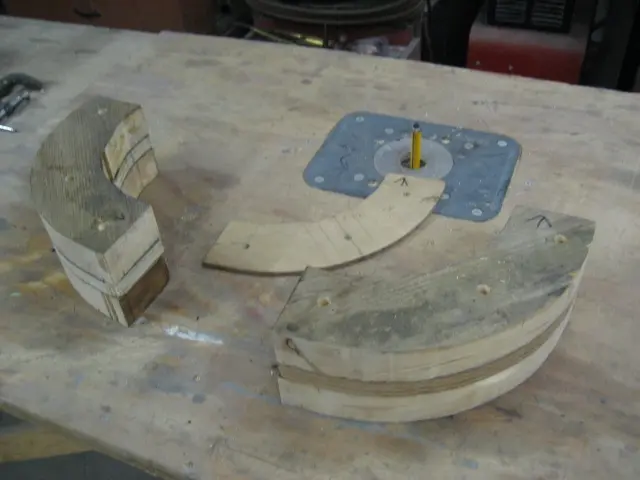
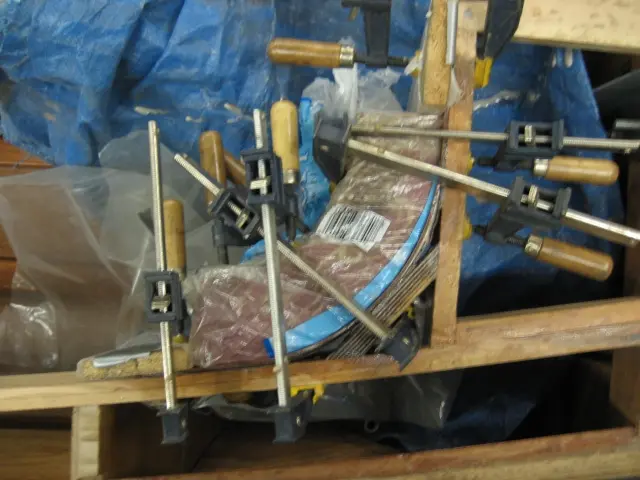
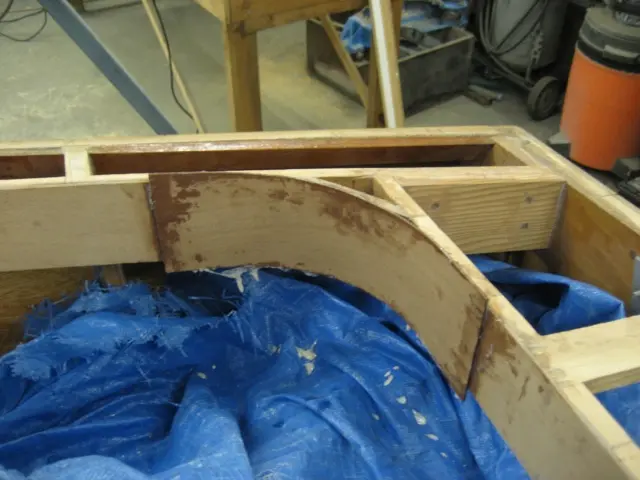
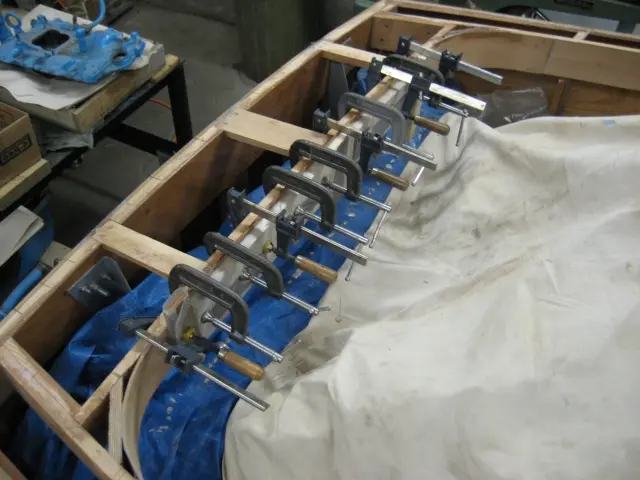
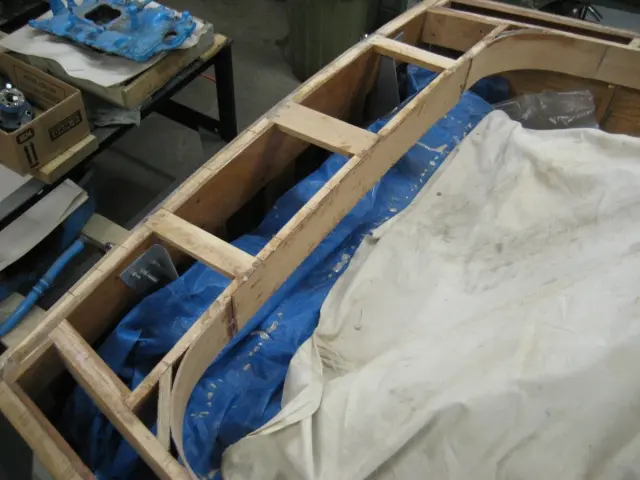
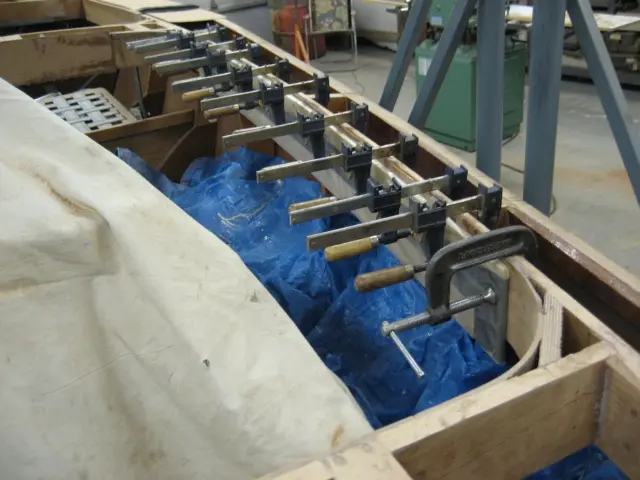
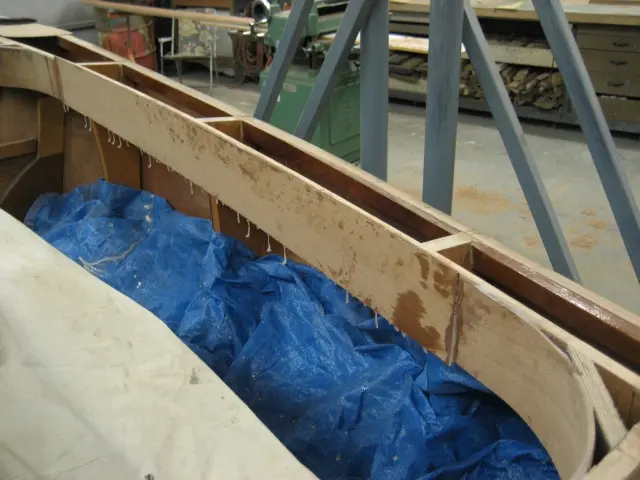
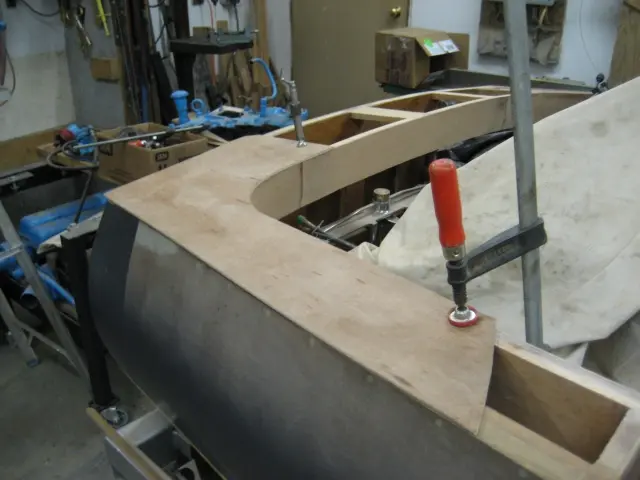
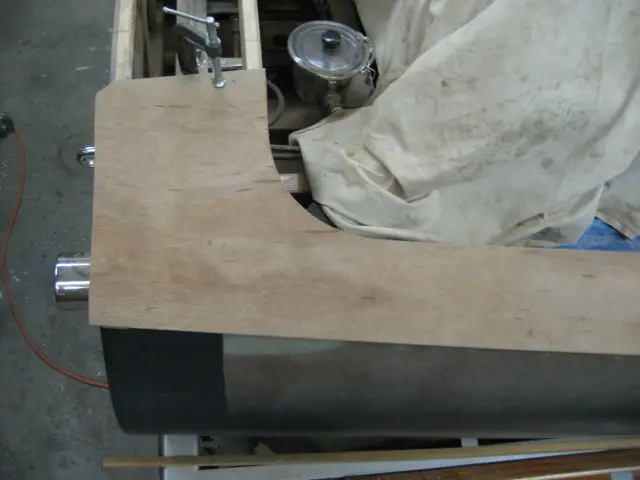
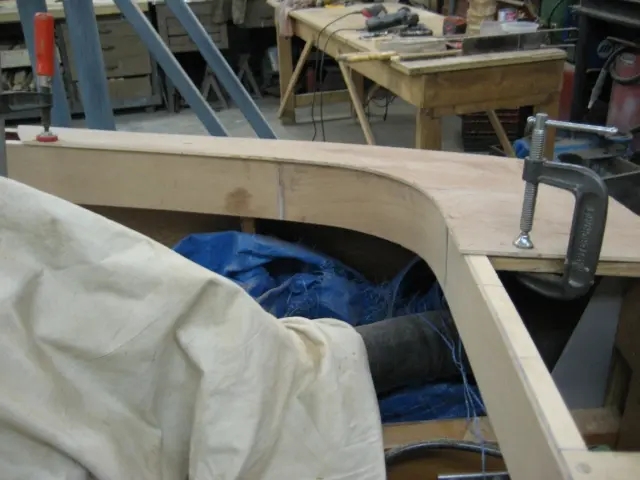
1. Second lamination at port gunwale clamped.
2–3. Time to see what the radiused corner is going to look like !
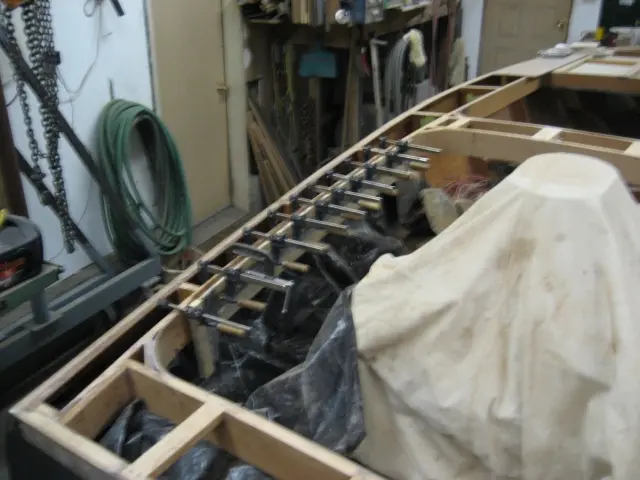
4. Second corner lamination at Frame # 4 clamped.
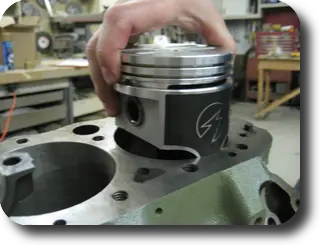
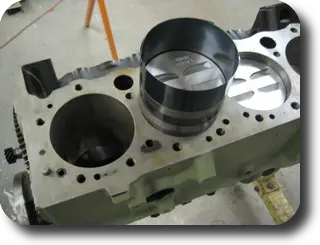
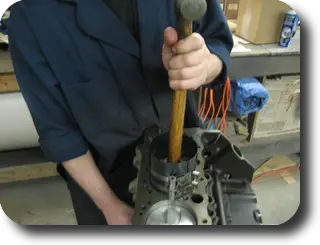
1. Installing the piston with a piston ring compressor.
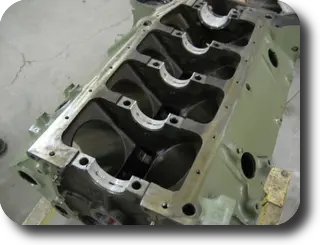
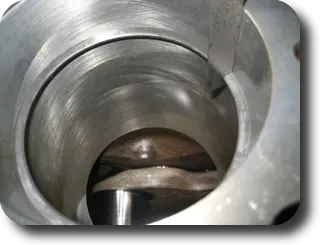
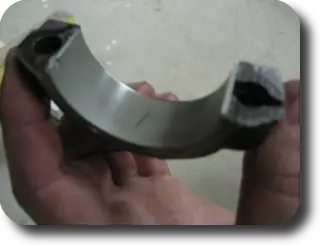
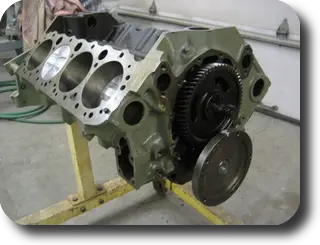
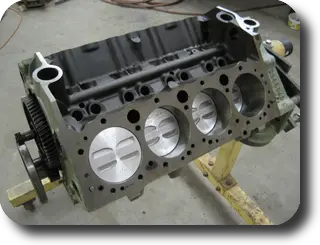
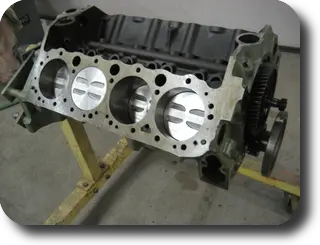
2–3, 8–9. Engine Clearances
4–5. Installing the connecting rods.
6–7. Short block completed.
Nobody else here is logging a Hot Rod yet. See the boat.