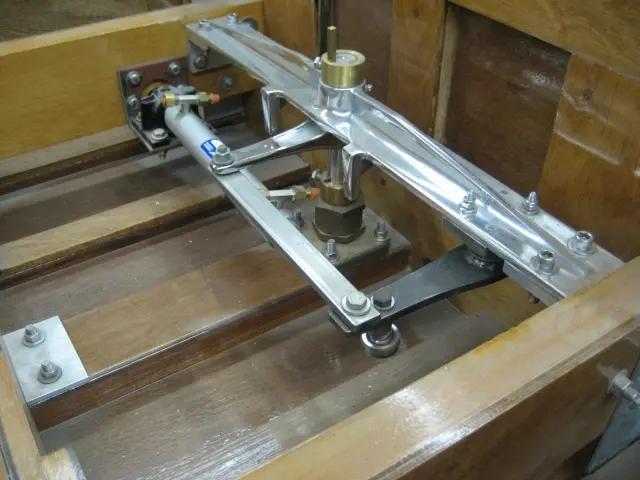
Steve at Ayling's Boat Yard has been busy in the machine shop refining the steering components
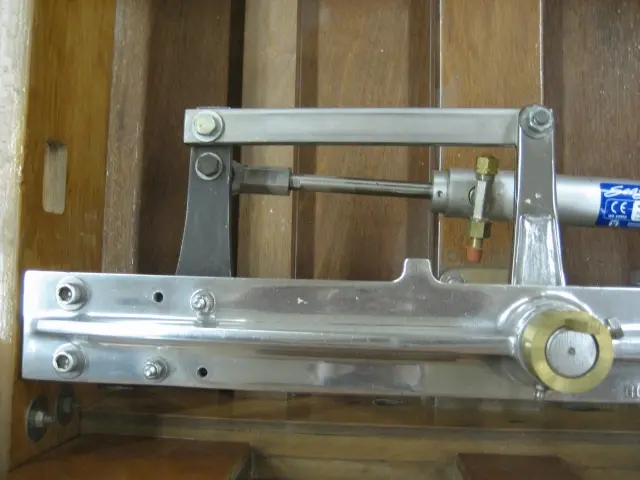
1. Steve at Ayling's Boat Yard has been busy in the machine shop refining the steering components. The slave tiller arm bushing housing was welded, the pivot pin was upgraded to 3/4" diameter stock and re-bushed to tighter tolerances. Nice work, Steve ! Click here to see more detailed photos. ( a new window will be opened)
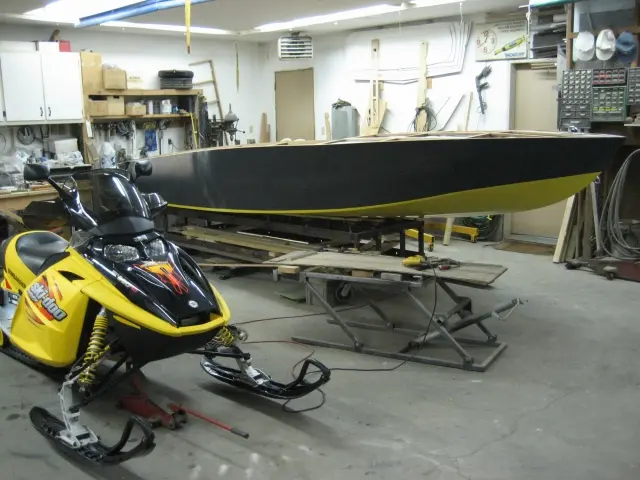
2. Work on the boat will continue over the holidays, but we'll also make some time to enjoy the snowmobile trails. Can't be working in the shop all the time ! I'd like to wish all our visitors a Merry Christmas and a happy New Year !
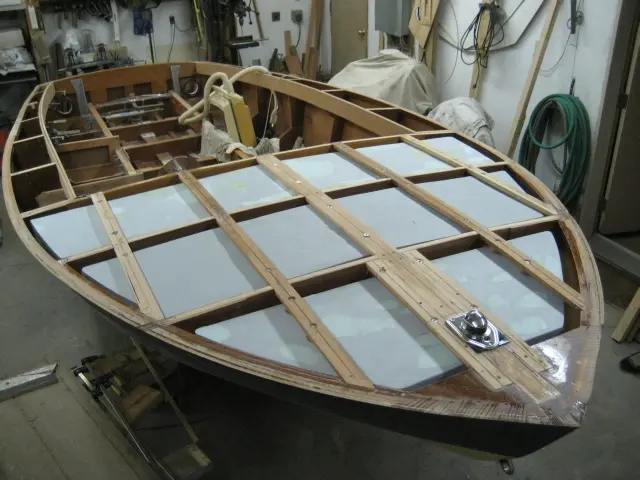
Under-deck flotation billets were cast and installed
1. Under-deck flotation billets were cast and installed. Click here to see more detailed photos. ( a new window will be opened)
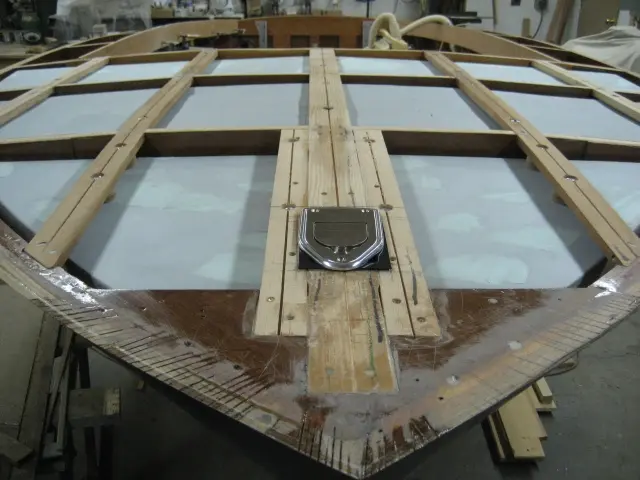
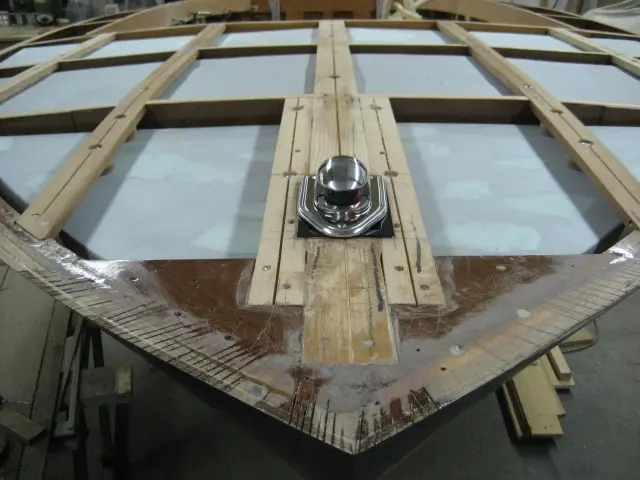
2. For a sleek contemporary look, we've chosen a stainless steel pop-up bow light. When not in use, it's flush with the deck...
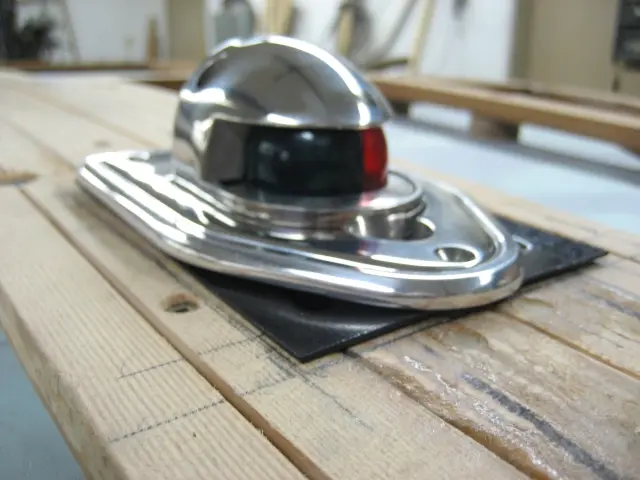
3. ... and pops up when needed.
4. The bow light is housed in a plastic receptacle which can be equipped with a hose barb and drain hose. This unit was purchased from Marine Toys in Delta, British Columbia. See our Links Page for supplier information. ( a new window will be opened)
Flotation: The flotation billets can't be installed under the deck battens unless they're cut into tw
For a sleek contemporary look, we've chosen a stainless steel pop-up bow light. When not in use, it's flush with the deck . . .
. . . and pops up when needed.
The bow light is housed in a plastic receptacle which can be equipped with a hose barb and drain hose. This unit was purchased from Marine Toys in Delta, British Columbia. See our Links Page for supplier information. ( a new window will be opened)
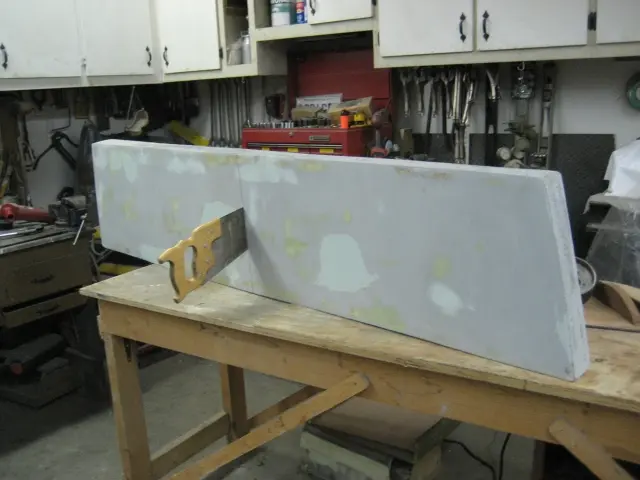
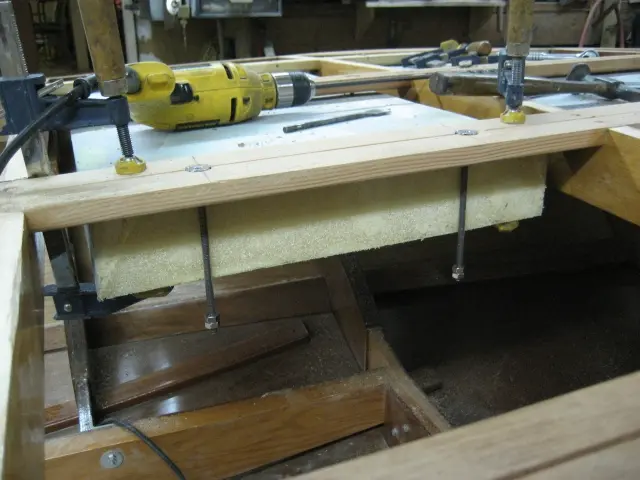
1. The flotation billets can't be installed under the deck battens unless they're cut into two pieces.
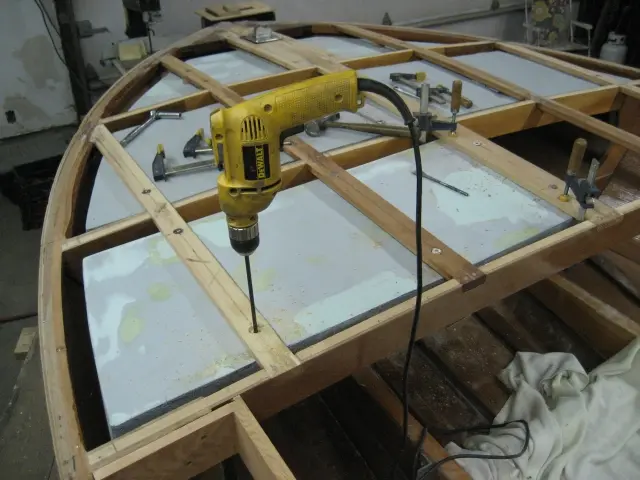
2. A long shank 1/4" drill bit was used to drill through the billet.
3. The two piece billets are held in place by 6" lengths of 1/4"-20 stainless steel threaded rod.
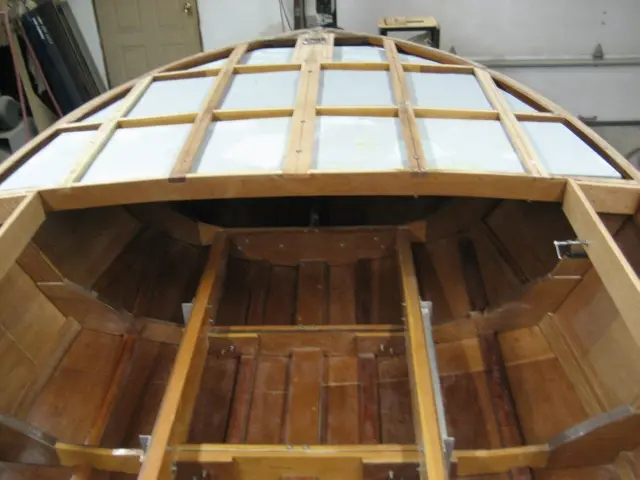
4. Here's the finished product.
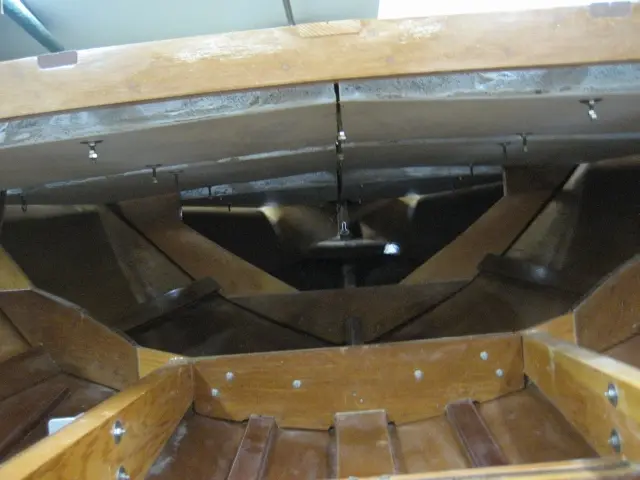
5. Here's the under-deck view. Mounting the foam up high will ensure that the hull doesn't 'turtle' over when swamped. We could have increased the thickness somewhat, but we wanted to minimize the amount of weight (and weight moments) in the bow section. Total weight is approximately 12 pounds. To offset this weight and balance the hull, more billets will be cast along the gunwales, intermediate deck beam and transom.
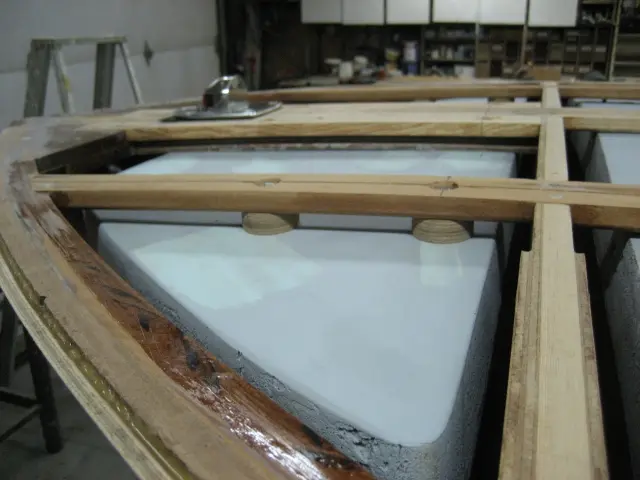
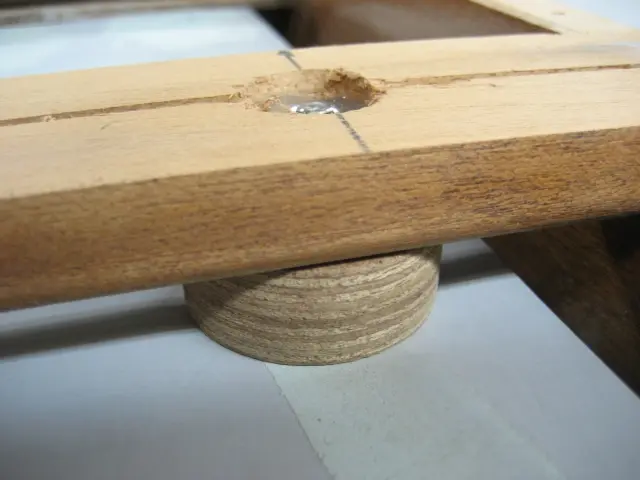
6. To ensure adequate ventilation and prevent rot issues, we installed 1-1/2" diameter 3/4" marine grade plywood spacers between the deck battens and foam bilets
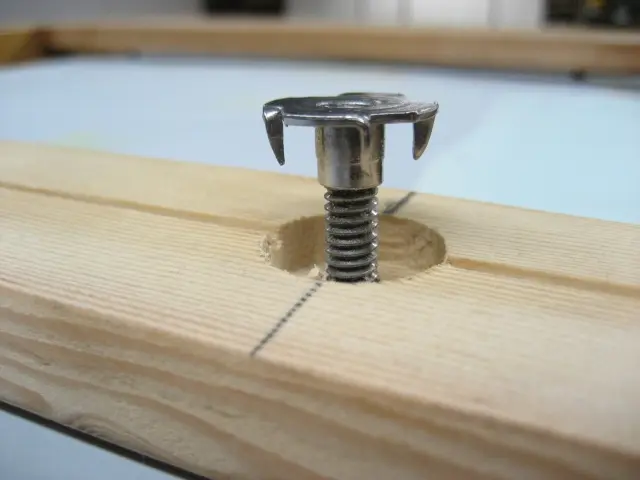
7. The deck battens where counterbored to accept stainless steel barrel nuts.
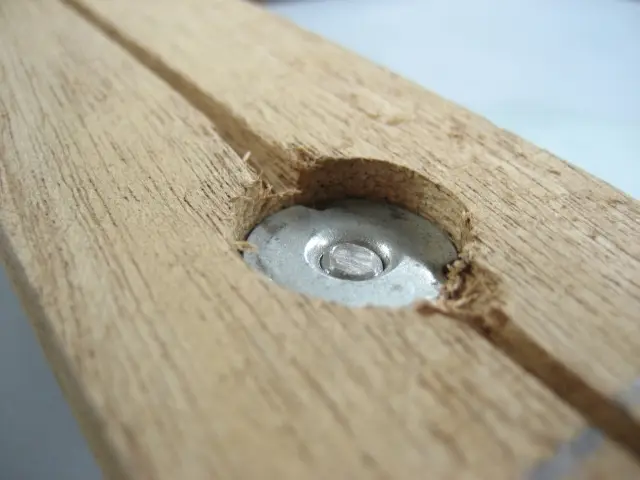
8. Once installed, the recess will be filled with epoxy and ground flush.
9. To promote air circulation between the foam billet and deck battens, we fabricated 1-1/2" round spacer washers from 3/4" marine grade plywood.
Hydraulic steering: More parts came back from the machine shop
To complete the assembly, we fabricated a hydraulic cylinder mounting bracket and stainless steel tie bar. At a later date, we'll be replacing the tie bar with two tie-rod ends and a length of threaded rod.
A Gil offshore sea strainer filters raw water before feeding it into the cam-driven water pump and oil coolers.
1. More parts came back from the machine shop. The slave tiller arm bushing housing was welded, the pivot pin was upgraded to 3/4" diameter and re-bushed to tighter tolerances. Nice work, Steve !
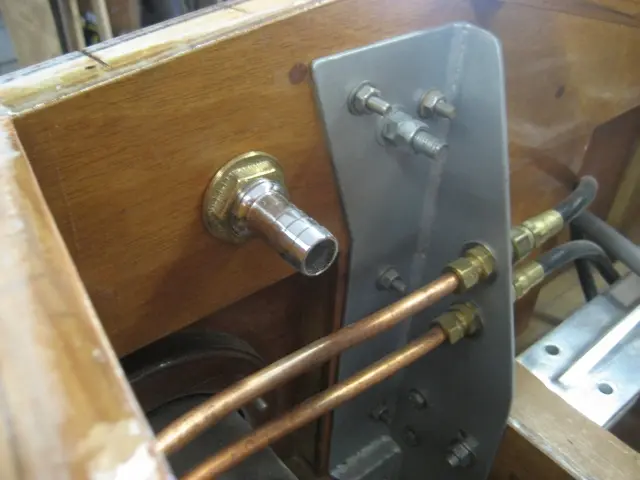
2. Visible in this photo are the two 3/8" annealed copper tubing hydraulic steering hoses. They're retained by bulkhead fittings bolted through the stainless steel transom support uprights. The hose barb thru-hull fitting located above the copper lines is for the bilge pump exit hose.
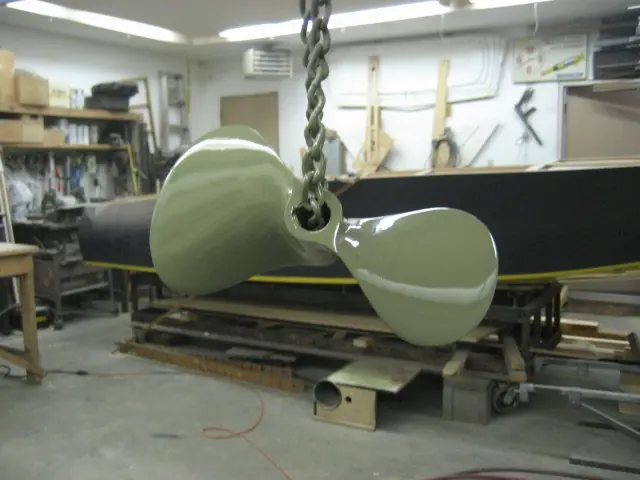
1. Time flies when you're having fun ! It's time to get back to the boat and get her finished up... First order of the day was to prime the Menkens 2-blade propeller we picked up before Christmas. It's an 11-1/2" diameter by 15" pitch forged steel unit which should allow the engine to spin into the stratosphere... The part was etched and cleaned with DuPont Metal conditionner. This was followed by two rounds of DuPont 2580CR DTM Urethane Primer.
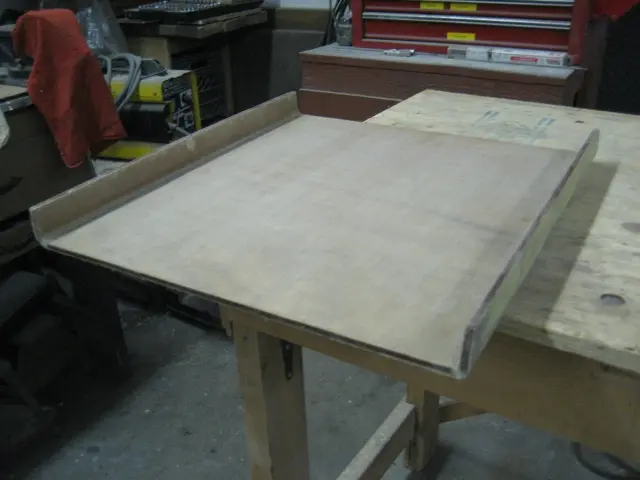
2. Here's a photo of the fuel tank platform we molded several months ago.
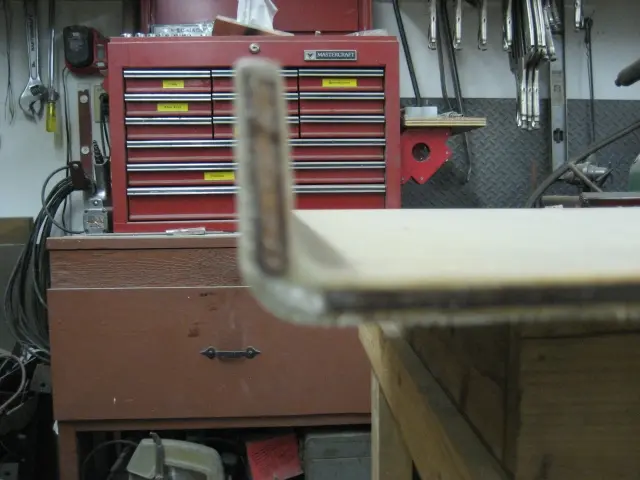
3. A piece of 1/4" marine-grade plywood was sandwiched between multiple layers of 6-1/2 ounce fiberglass cloth and 2 ounce mat. The radiused edges were built up from several cloth laminations.
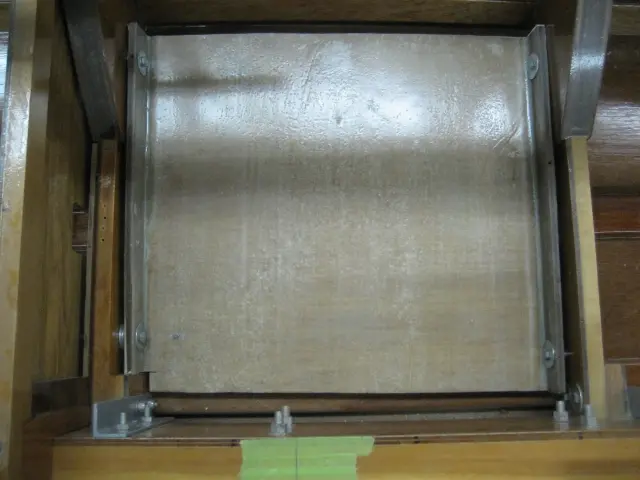
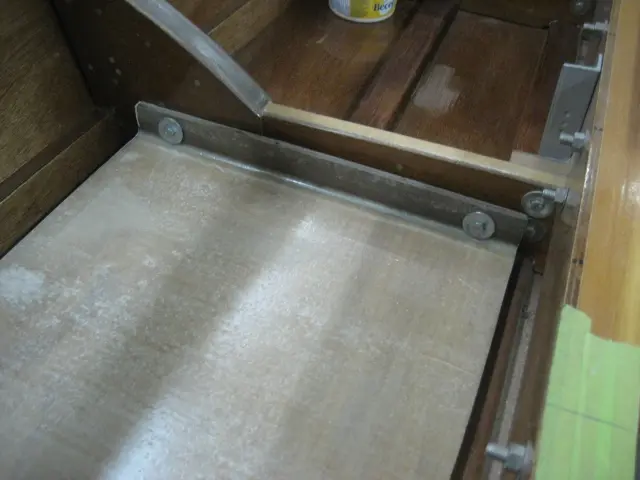
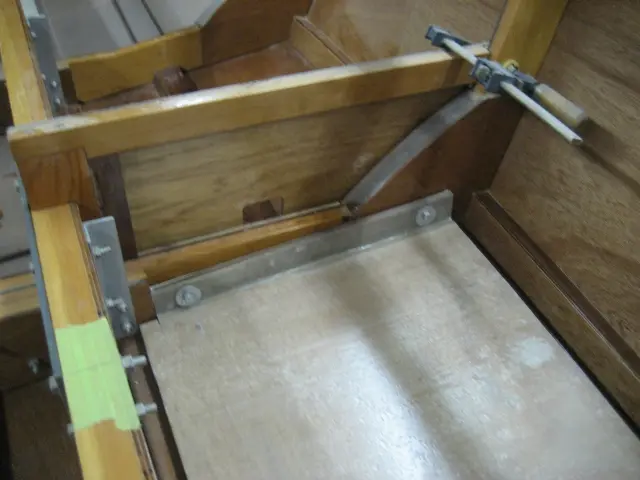
4. The cradles are bolted to frames # 3 and # 4. A 3/8" gap was left between the cradle and bottom battens.
5. Spacers will be fabricated to space out the cradle from the frame. This will ensure adequate drainage and ventilation between the two parts.
6. The rear jump seat's front panel is being fitted. The intent is to bolt the jump seat supports so they can be easily removed in the future.
123456
Nobody else here is logging a Hot Rod yet.
See the boat.